BACK
1/04/2017
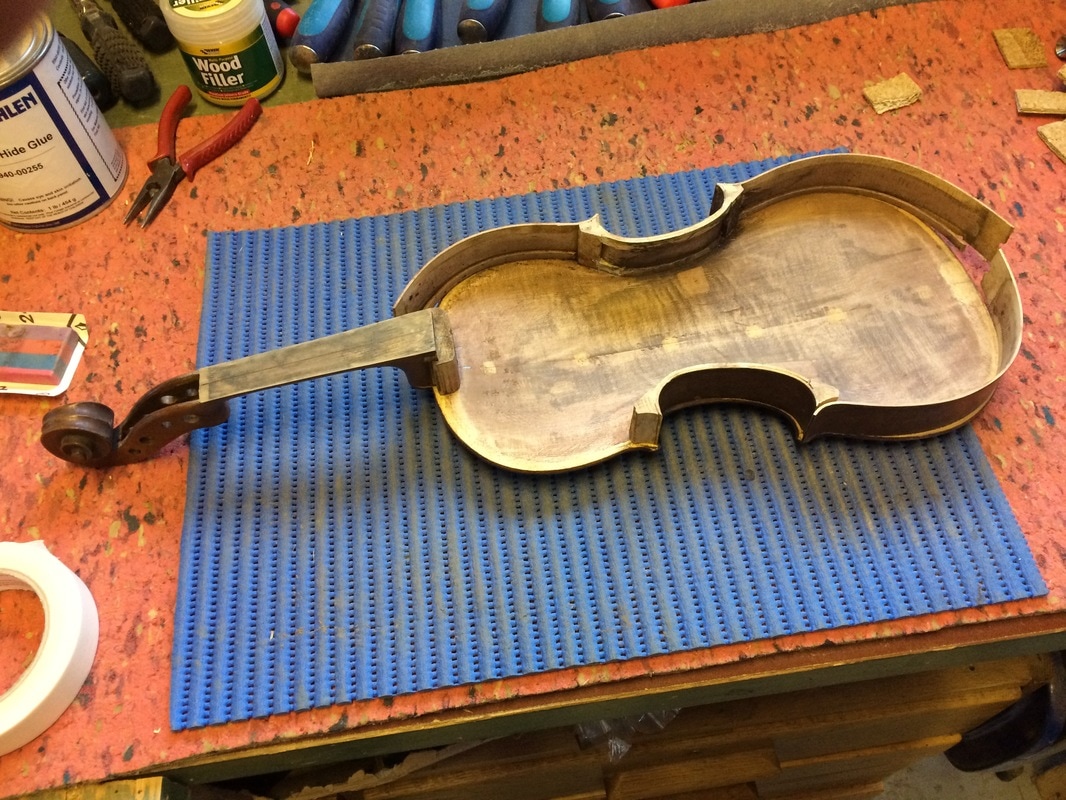
Still re-assembling the soundbox of the violin. I have also now re-attached the neck too !
Normally I would have waited until later but, the neck block was firmly glued to the neck so, instead of gluing the neck block in and, aligning the neck later.
I decided to glue it all back exactly where it was and trust in the original alignment.
( though i did check and, double check many times to ensure a good alignment existed ).
1/04/2017
Still re-assembling the soundbox of the violin. I have also now re-attached the neck too !
Normally I would have waited until later but, the neck block was firmly glued to the neck so, instead of gluing the neck block in and, aligning the neck later.
I decided to glue it all back exactly where it was and trust in the original alignment.
( though i did check and, double check many times to ensure a good alignment existed ).
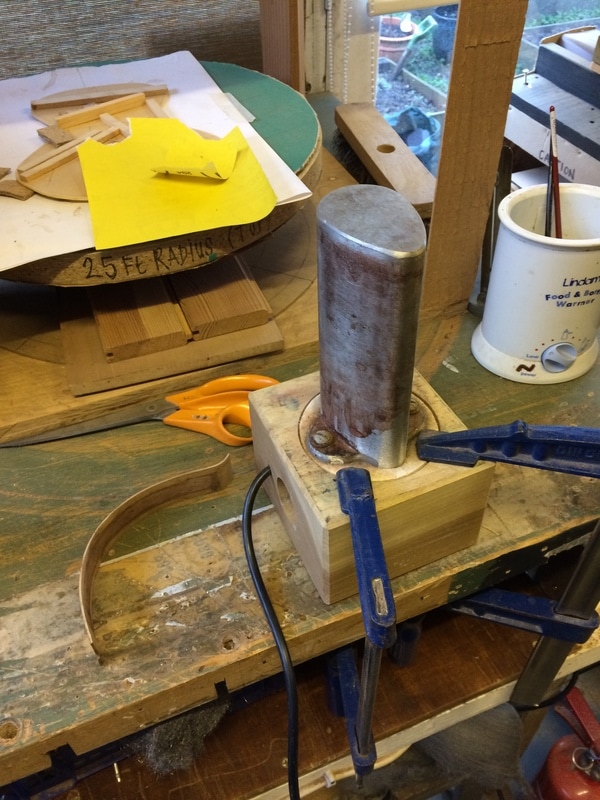
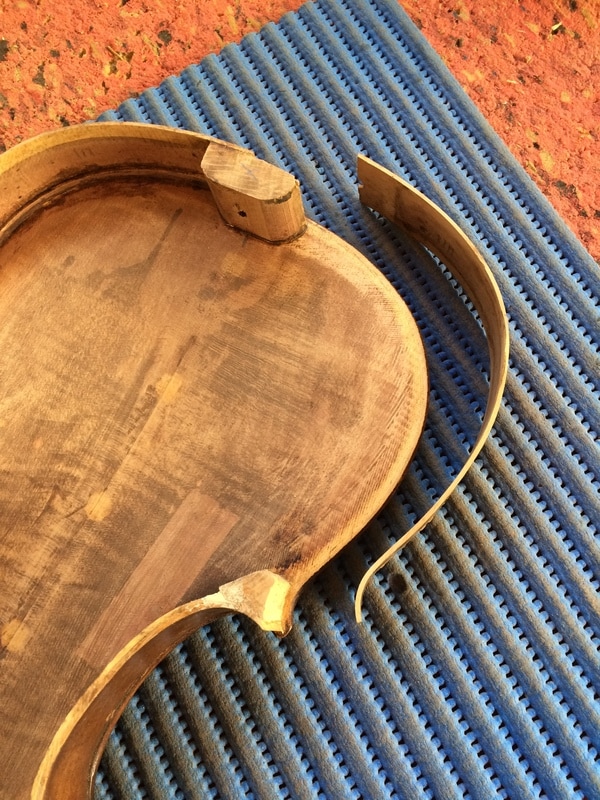
One of the lower bout ribs needed to be reshaped on the bending iron
to get it back to the original curve. |
|
|
|
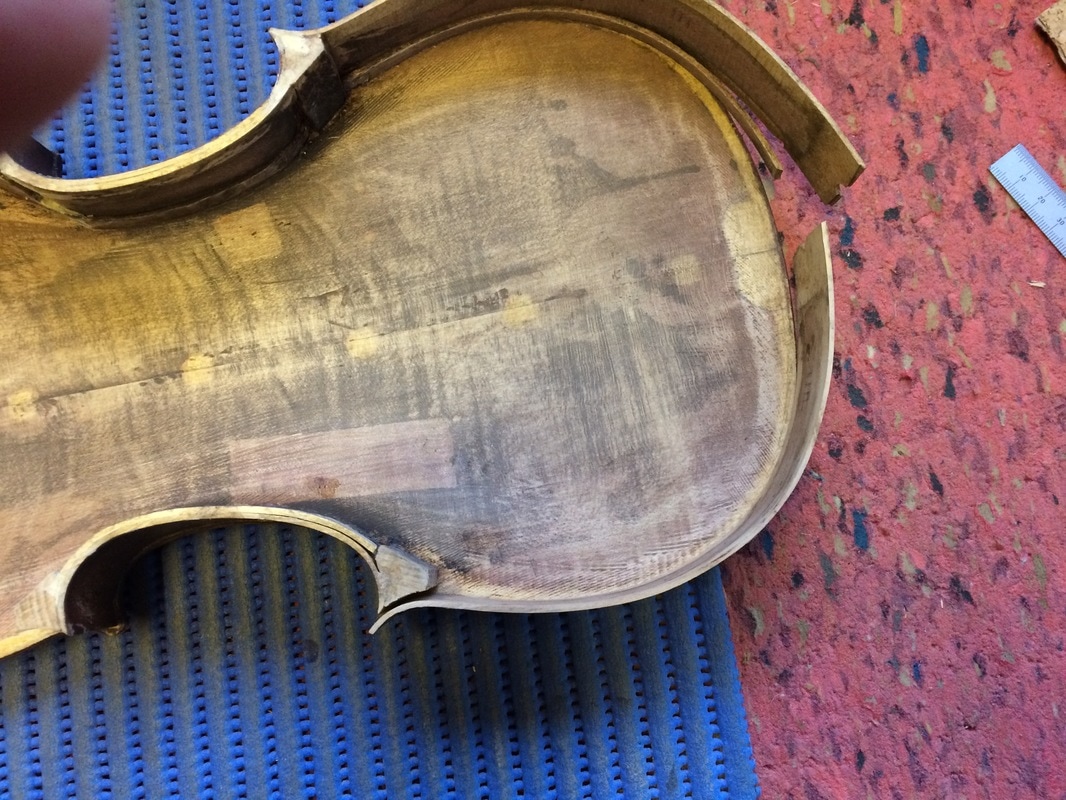
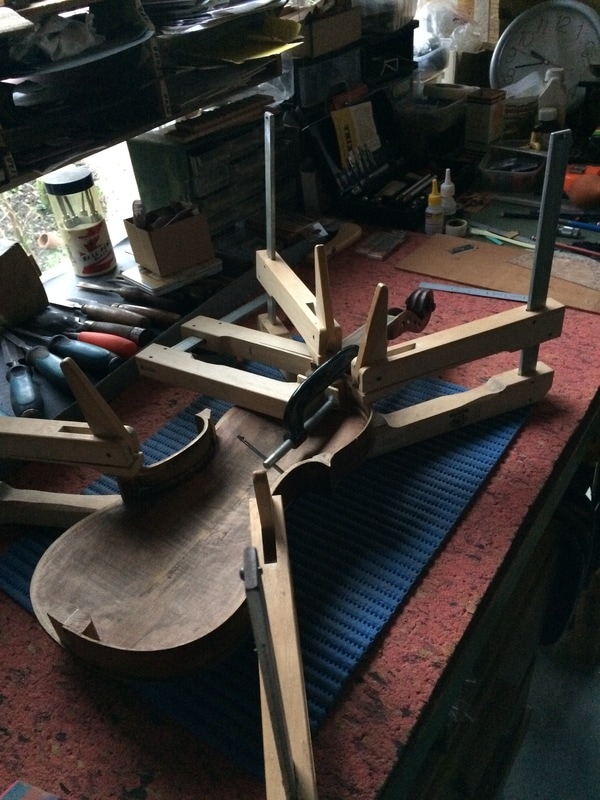
- Gluing the tail block back into position and attaching the remaining attached lower bout rib.
|
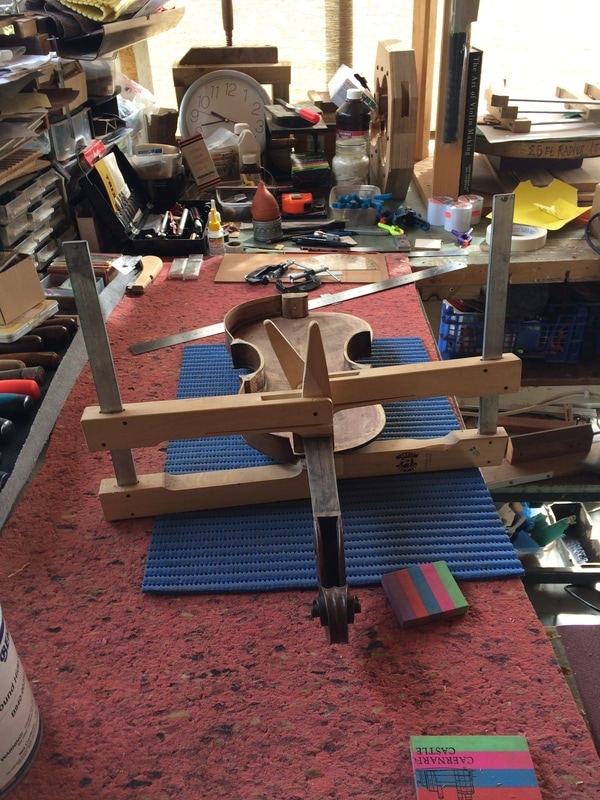
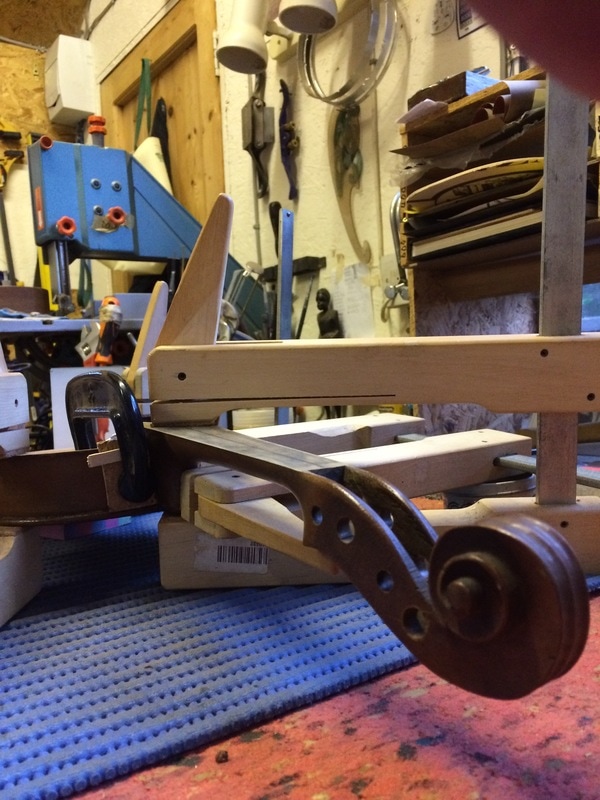
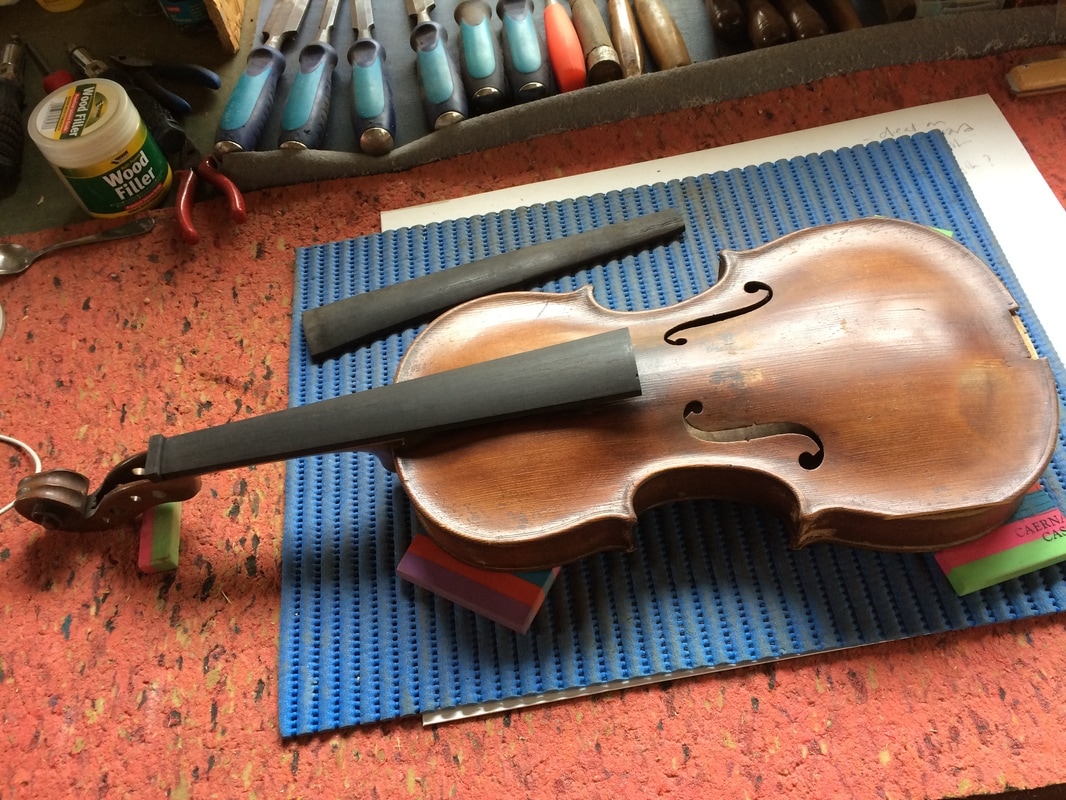
Gluing on the neck and neck block.
|
Attaching one of the upper bout ribs to the neck block
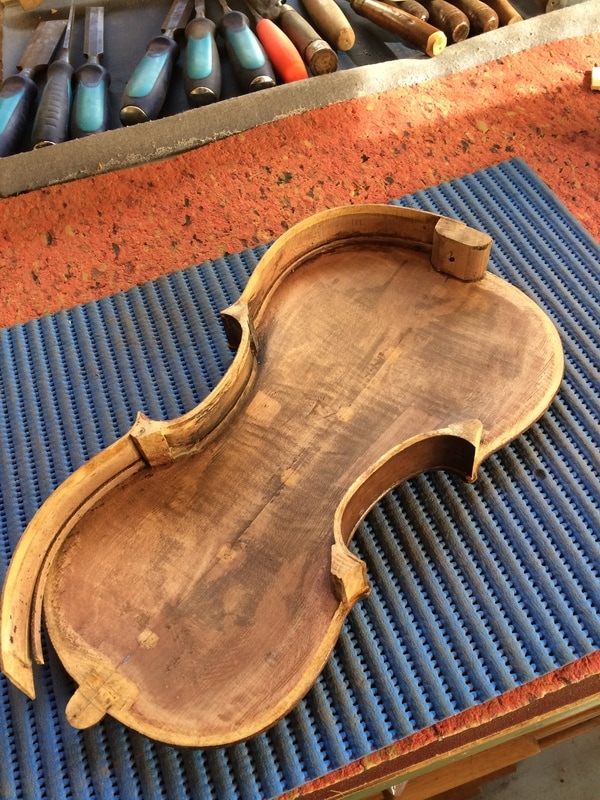
The next stage will be to re-glue the remaining two ribs, the seam cleats and, lastly, the soundboard. This will complete the soundbox :)
Just one more rib to attach ....
...and, a glimpse of things to come :)
8/4/17
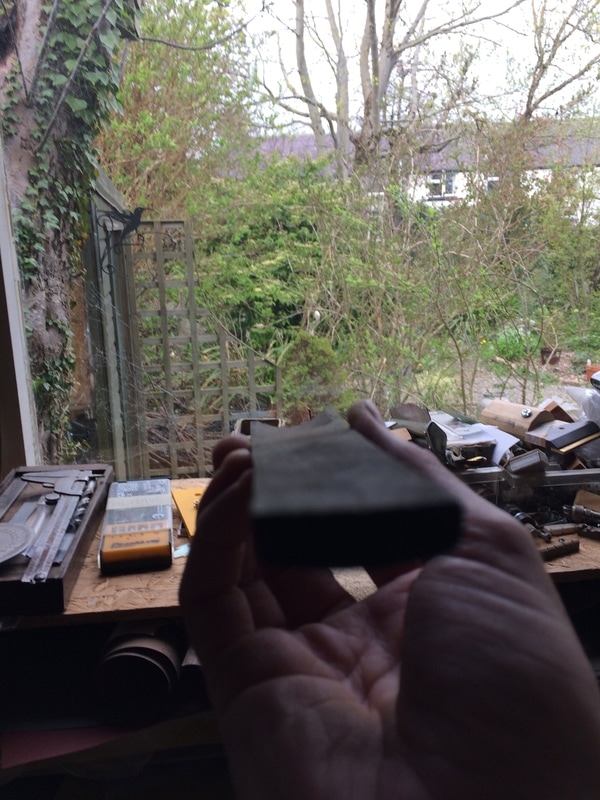
The Original fingerboard sadly, is too warped and twisted to be reused. So I have ordered an ebony blank to replace it.
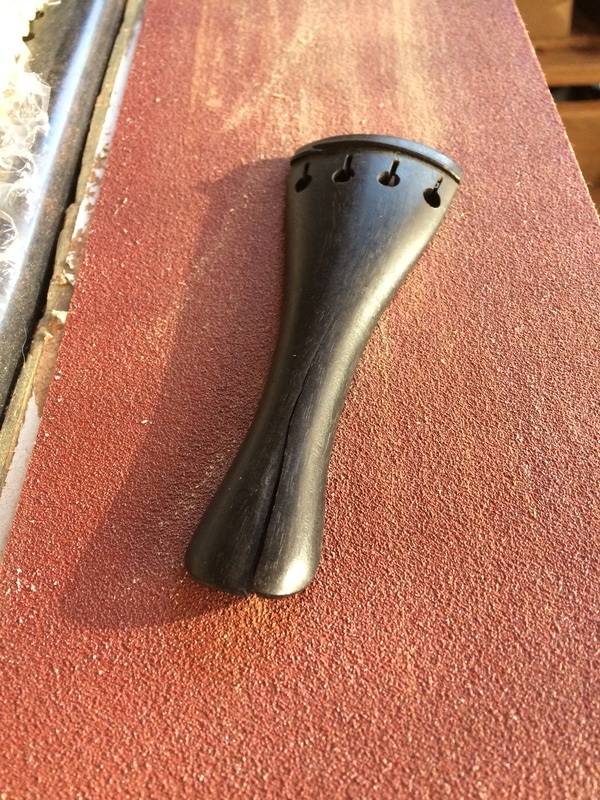
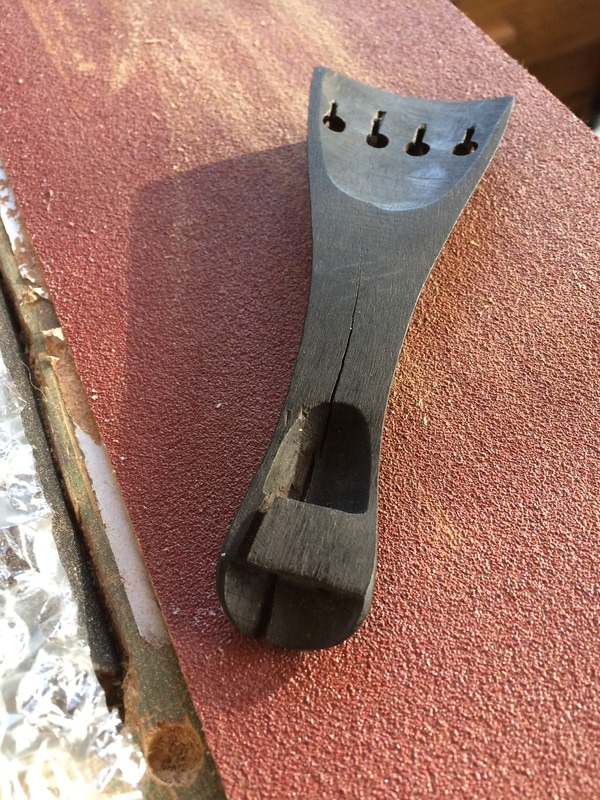
The tailpiece was also split but, I will try repairing it first, before considering a replacement.
The Original fingerboard sadly, is too warped and twisted to be reused. So I have ordered an ebony blank to replace it.
The tailpiece was also split but, I will try repairing it first, before considering a replacement.
|
|
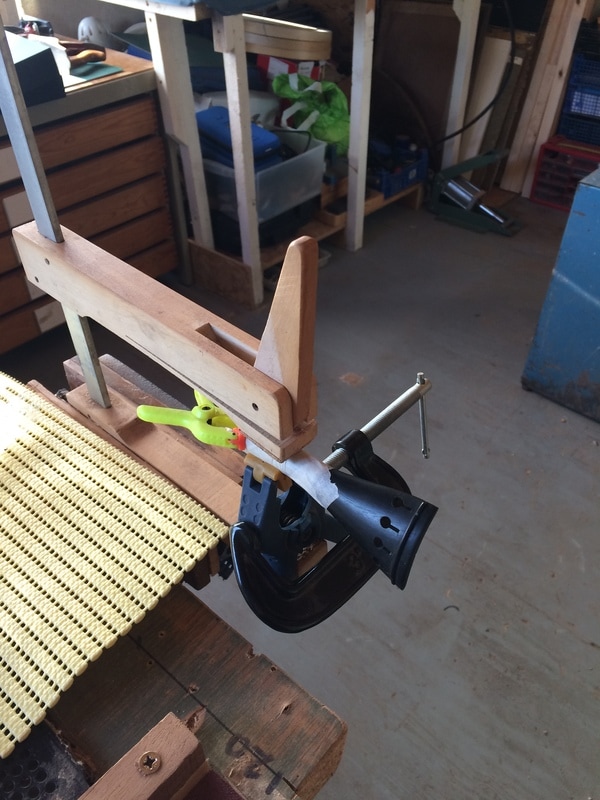
Tailpiece glued, wrapped and clamped
|
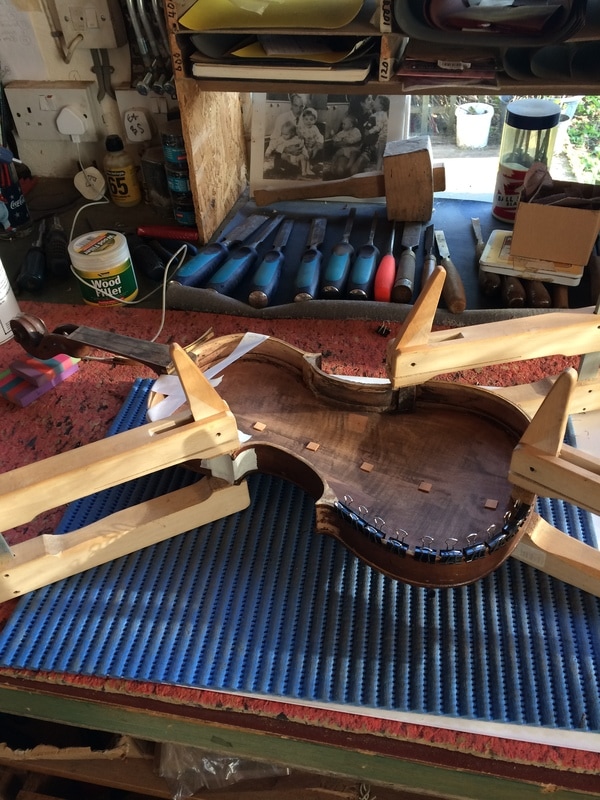
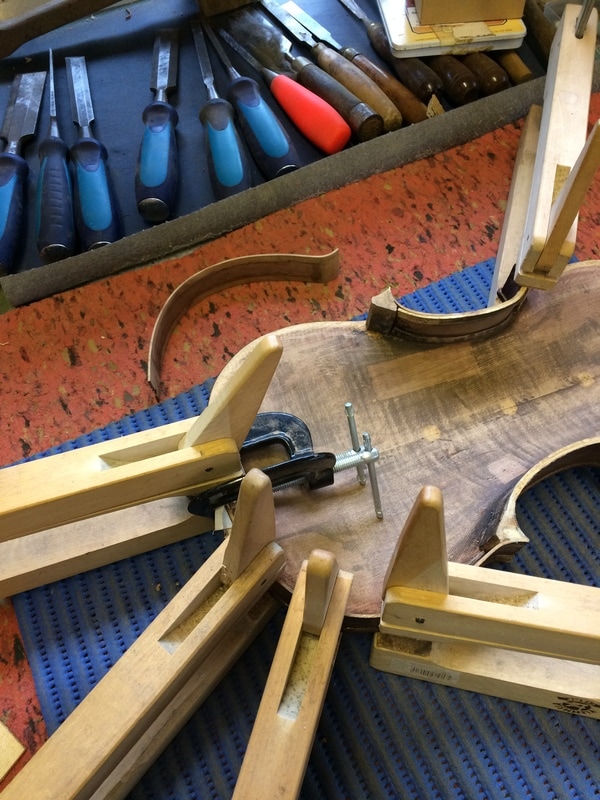
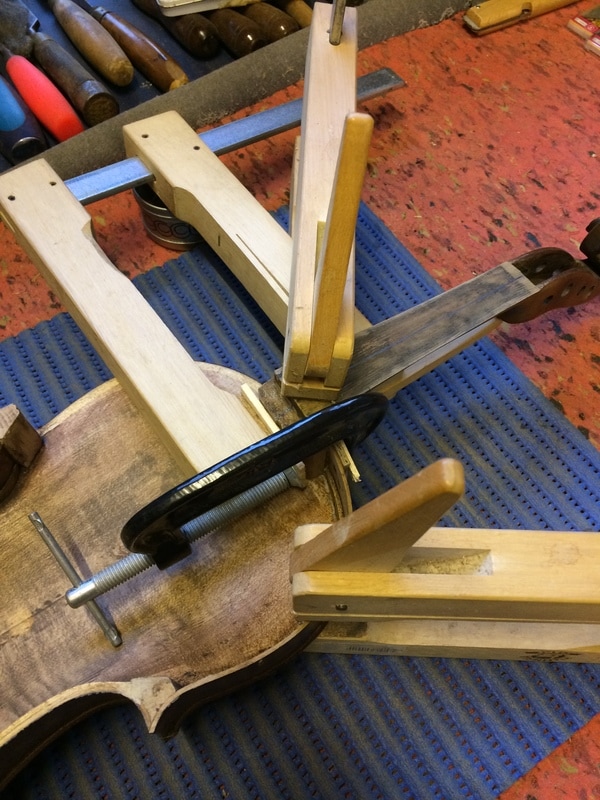
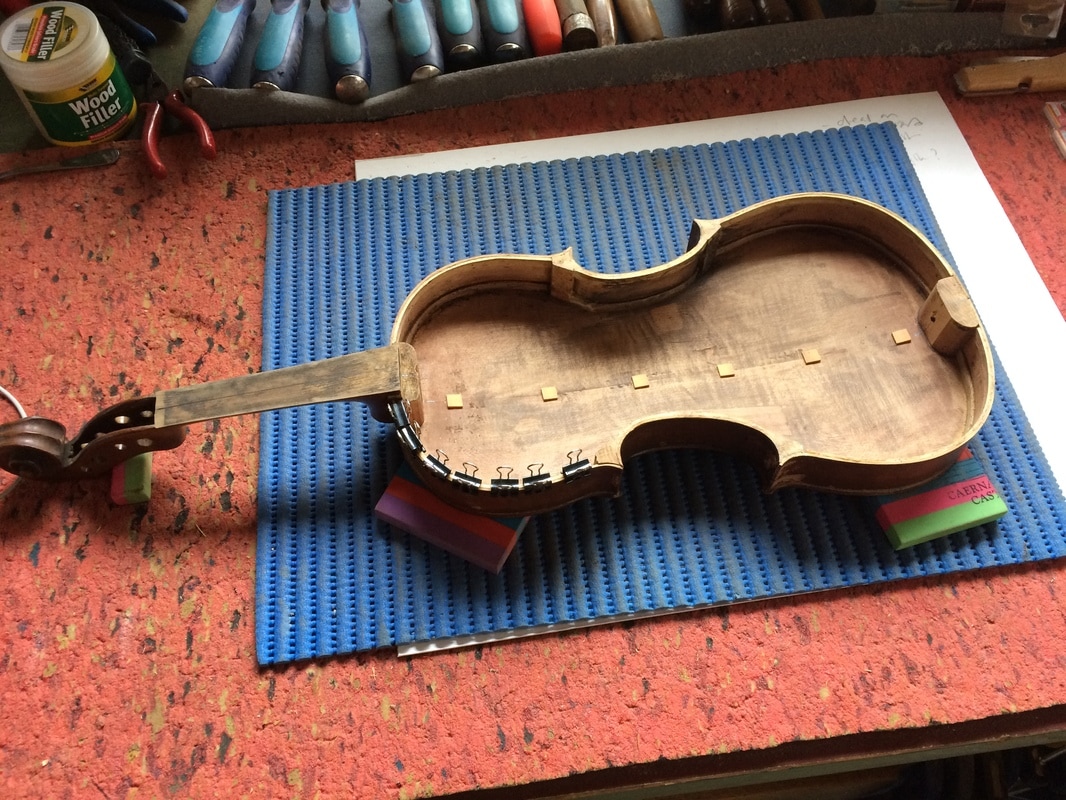
Gluing on the final rib - stage one - attaching it to the corner block first
9/4/17
Finished gluing on the final rib and, the linings.
Finished gluing on the final rib and, the linings.

|
|
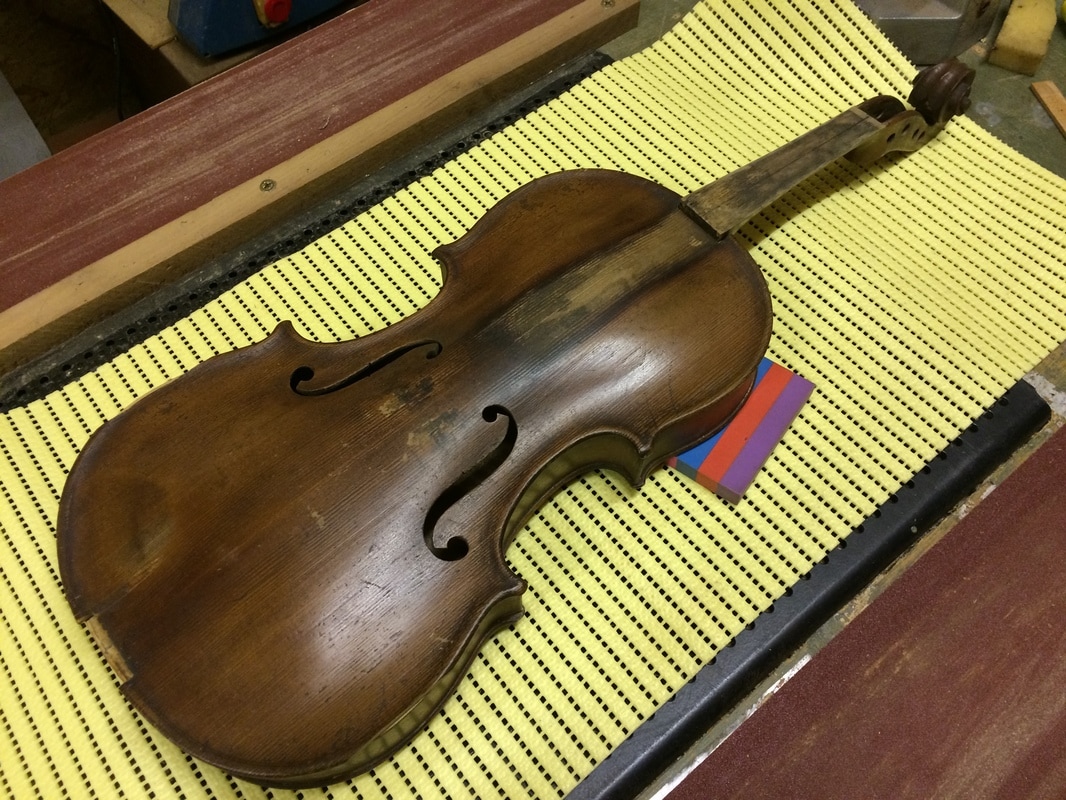
It's great to see the violin taking shape but, there is still quite a lot more to do.
Along with the new fingerboard, I ordered a new set of tuning pegs because, two of the original ones are badly damaged.
I also have a new bridge, strings and fine tuners - which attach to the tailpiece, as these were missing completely.
The original tailpiece has been repaired but, I won't know for sure if it will hold out until I re-string the violin. The damage was centred around the tie
holes - which take a lot of the strain when set up. I hope it does work because it's nicely made in solid Ebony.
One other and, very important part to find is a new soundpost for the violin. This is fitted inside once the soundboard has been glued on.
It transfers the sound/vibrations from the top to the back as well as providing structural support. It's positioning is crucial too but, I will explain this in more detail later in the re-build.
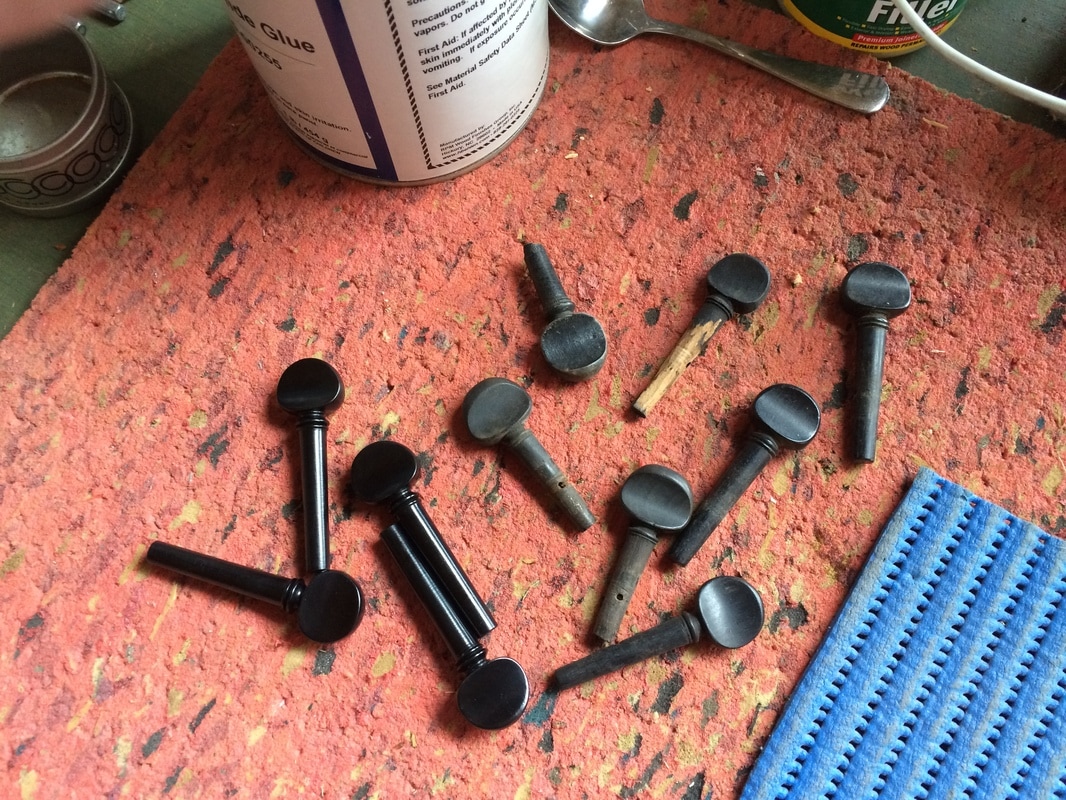
The new tuning pegs, the old ones and, some spares I had in the workshop.
I will try to re-use a combination of the older pegs if I can but, the newer ones may work better. |
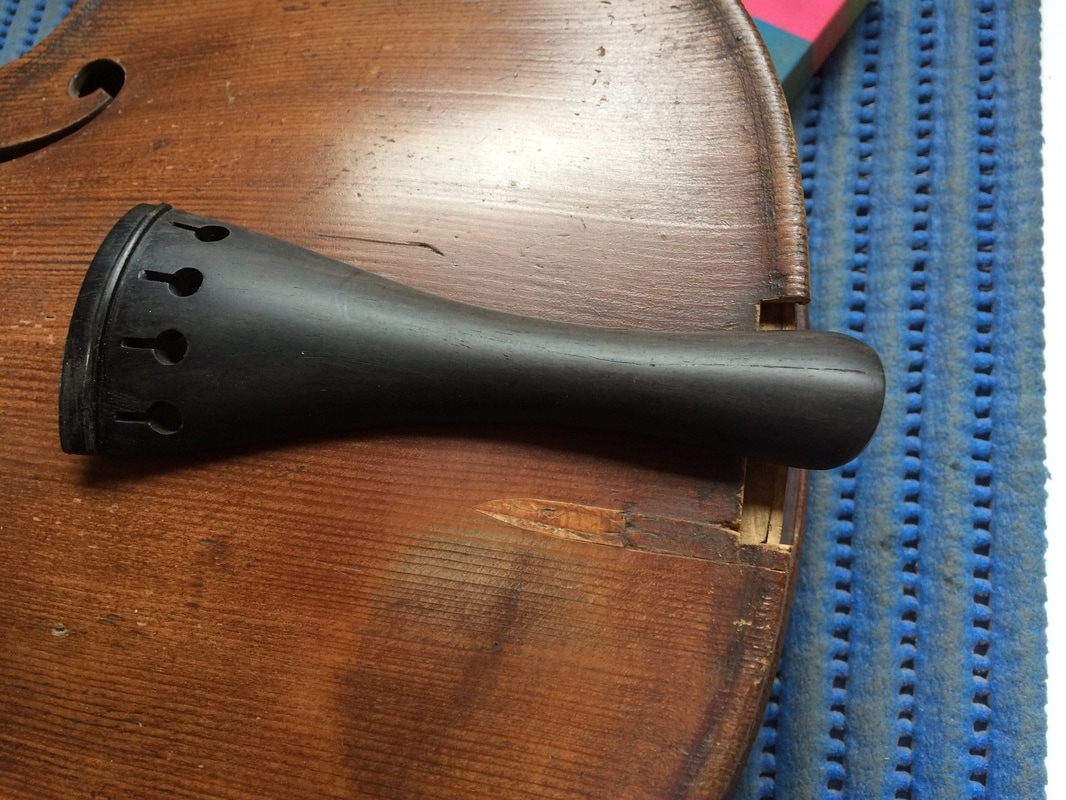
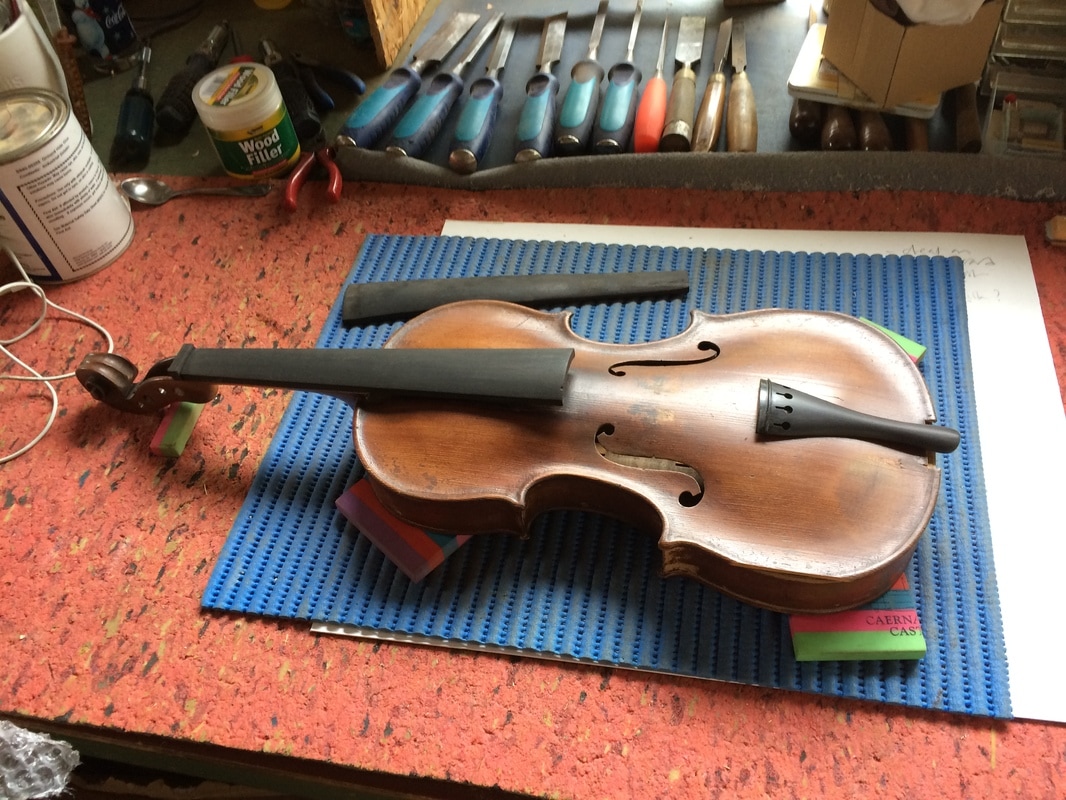
The original tailpiece which still shows faint signs of where the split was.
I will work on this further with ebony dust and superglue to blend it in. The soundboard repair will also be worked on more at the finishing stage. |
|
|
The old warped and twisted fingerboard. It isn't ebony but a lightweight wood stained black. This may have contributed to the failure.
|
|
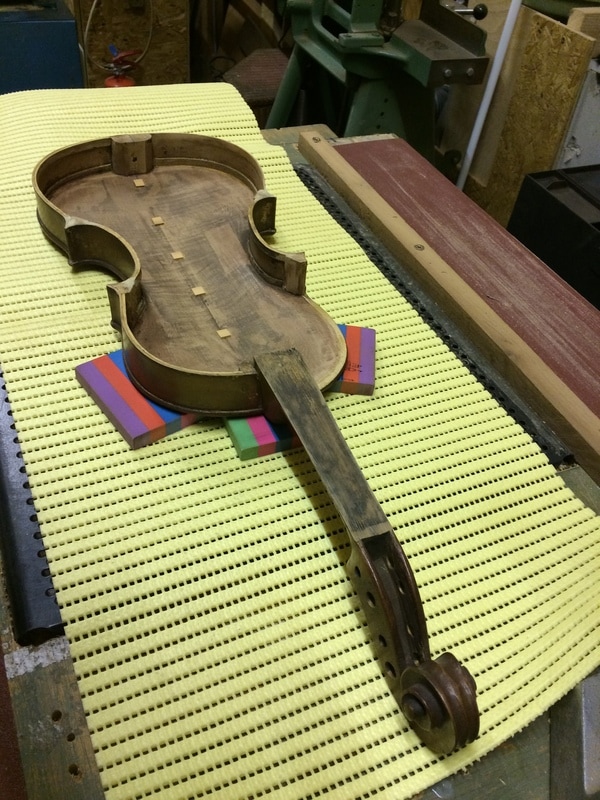
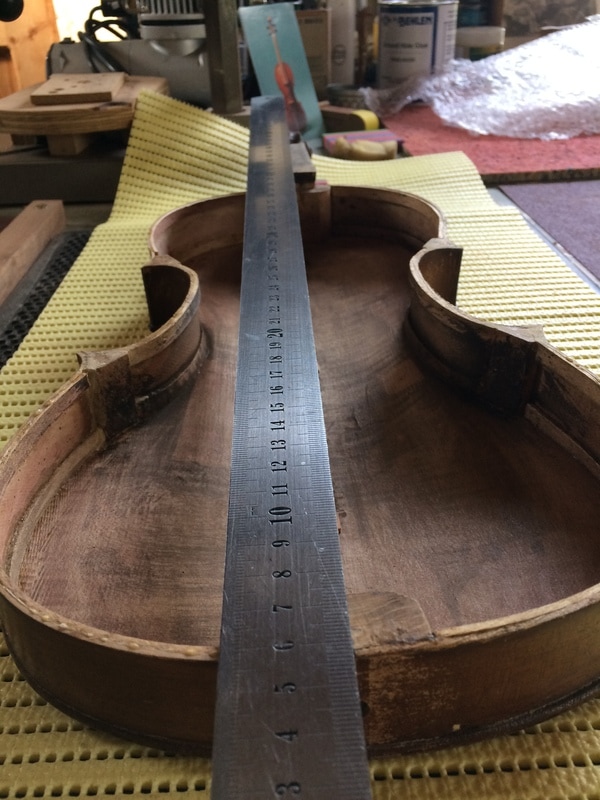
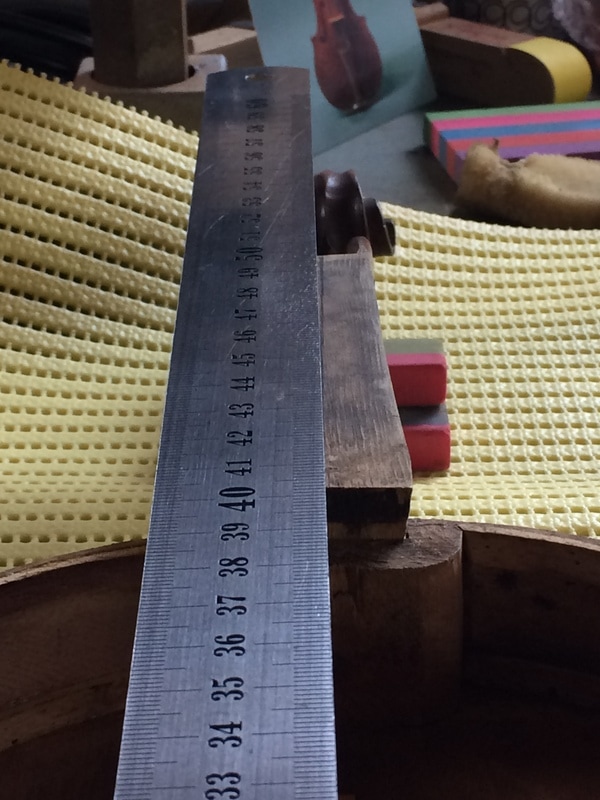
Checking the neck alignment. It is just a smidge off ... but, I may be able to correct it later when attaching the fingerboard.
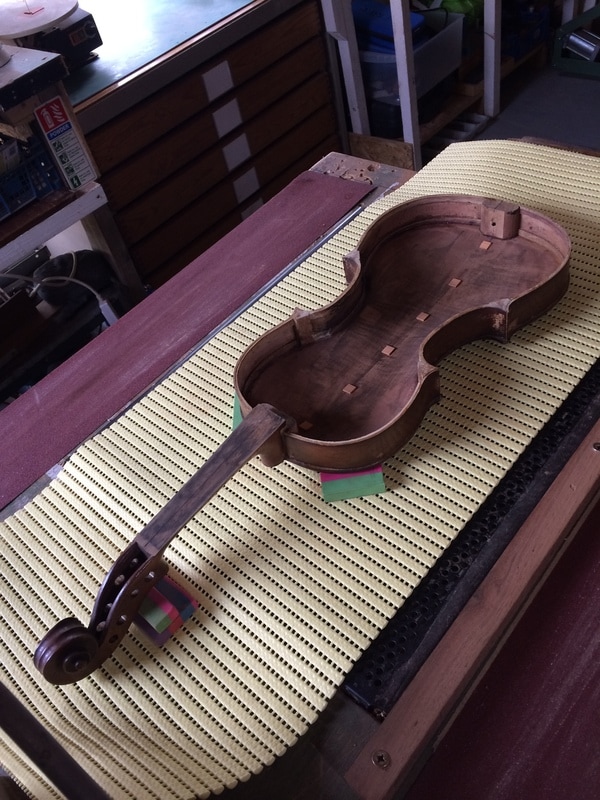
The next job will be leveling the body/ribs of the violin, in preparation for gluing the top. Before which, I will lightly tint the inside of the violin with shellac to even out the colouring and, provide a light seal for the wood.
