20/2/21
|
|
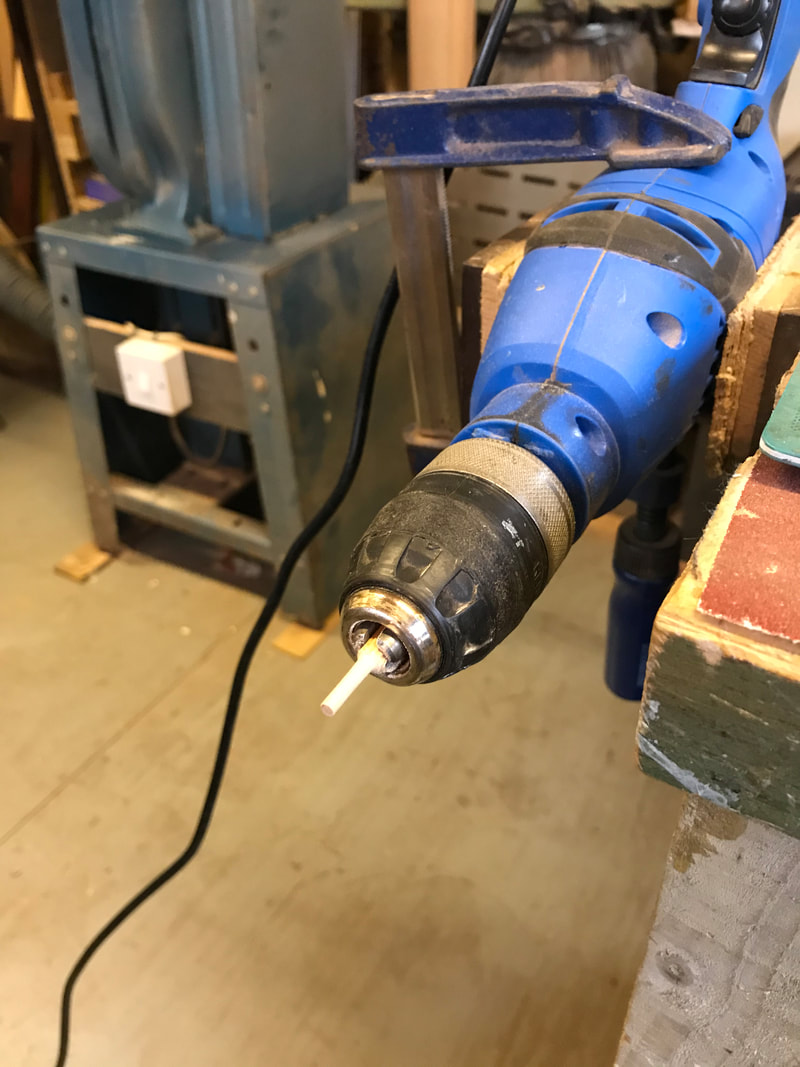
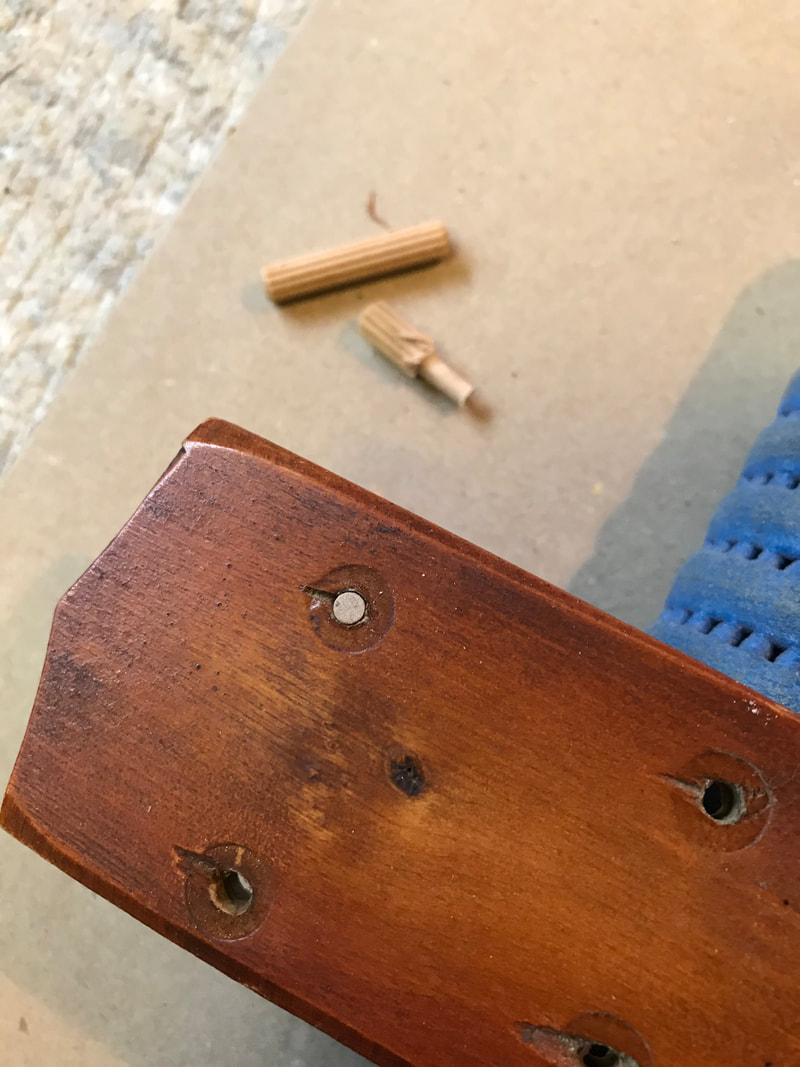
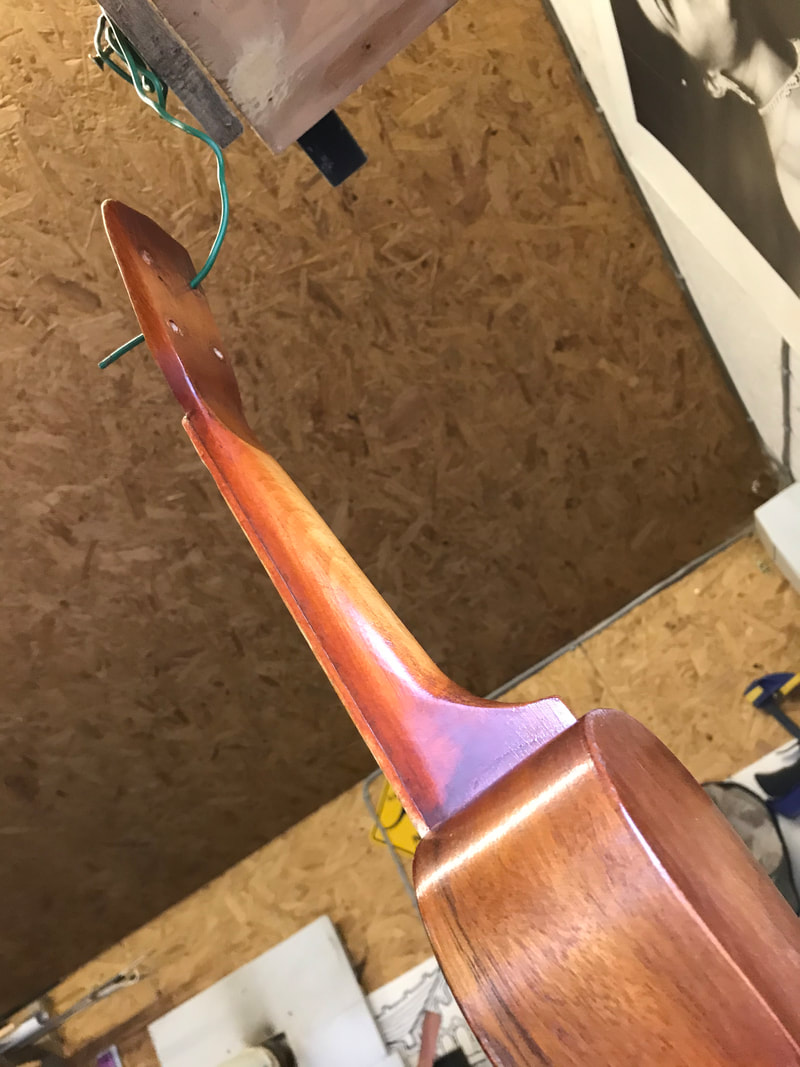
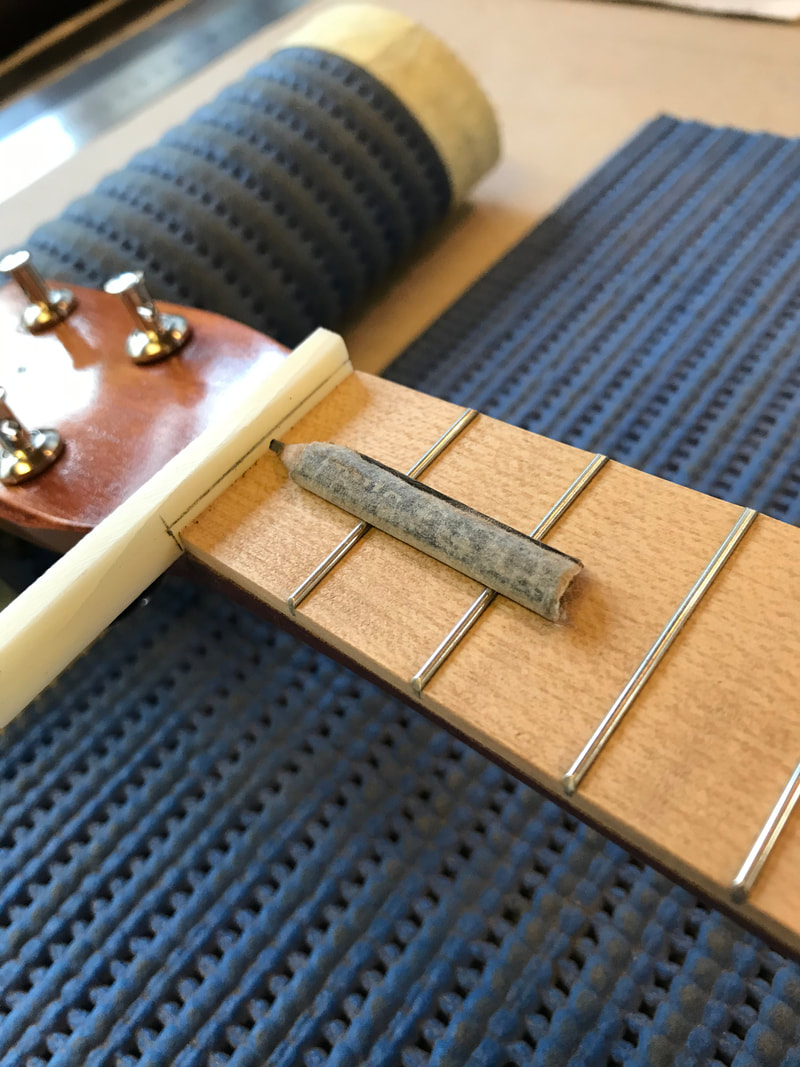
The existing friction tuners are going to be replaced by more reliable modern tuners. So, using my drill as a mini lathe, i made some dowels to plug the tuner holes.
This makes it easier to re-drill new holes. I will try to readjust the wonky tuner hole as best I can when I decide on the new spacing.
This makes it easier to re-drill new holes. I will try to readjust the wonky tuner hole as best I can when I decide on the new spacing.
|
|
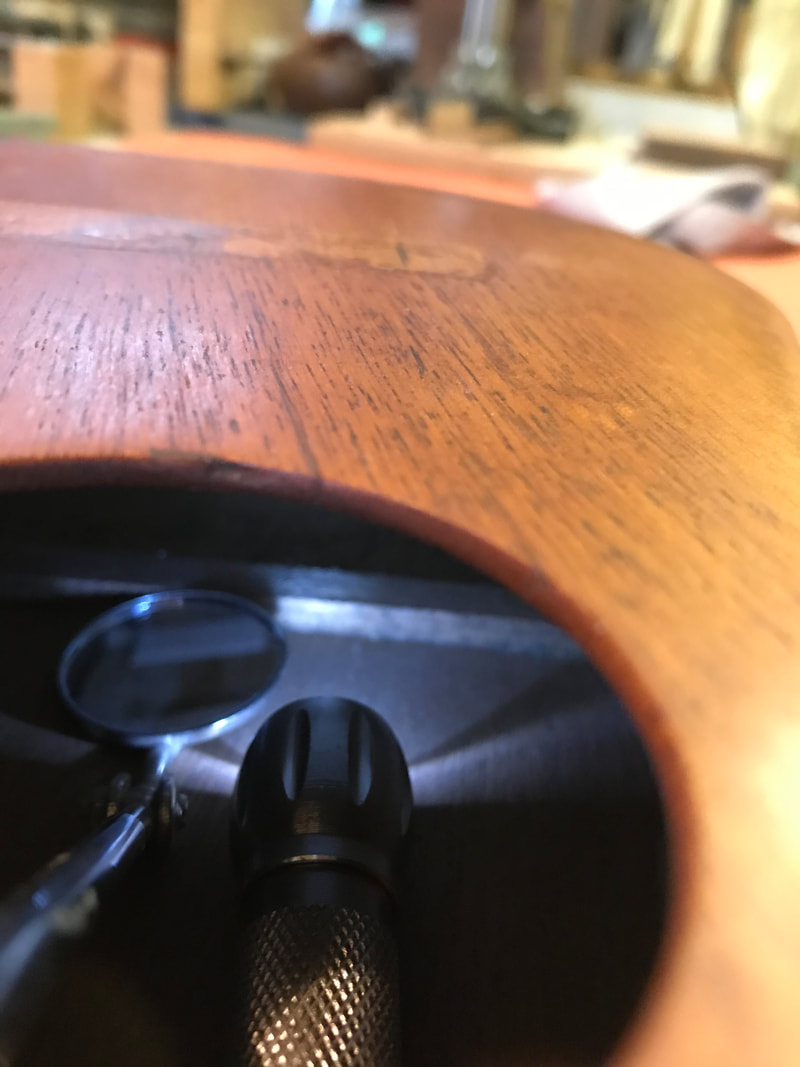
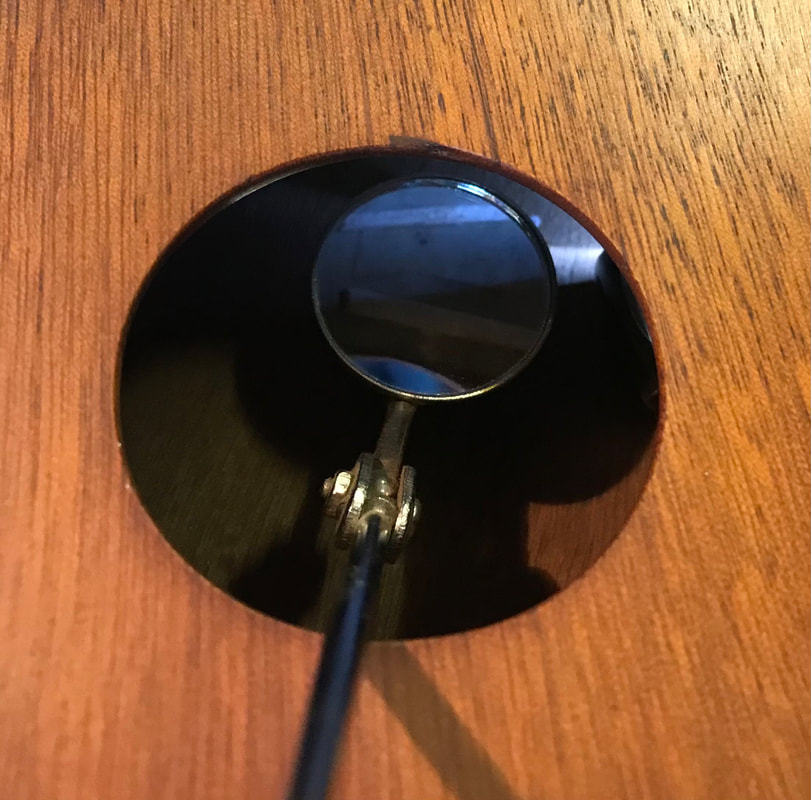
There were two cracks in the soundboard that needed repairing. One by the soundhole, the other, further back in the lower bout close to the back edge.
I began by wicking superglue into the cracks then, I glued stripes of gum tape inside to strengthen the joint. Lastly I glued small wooden cleats across the cracks.
Working inside the soundbox was achieved using a small torch, an inspection mirror, a curved metal rod, double sided tape and strong magnets :)
22/2/21
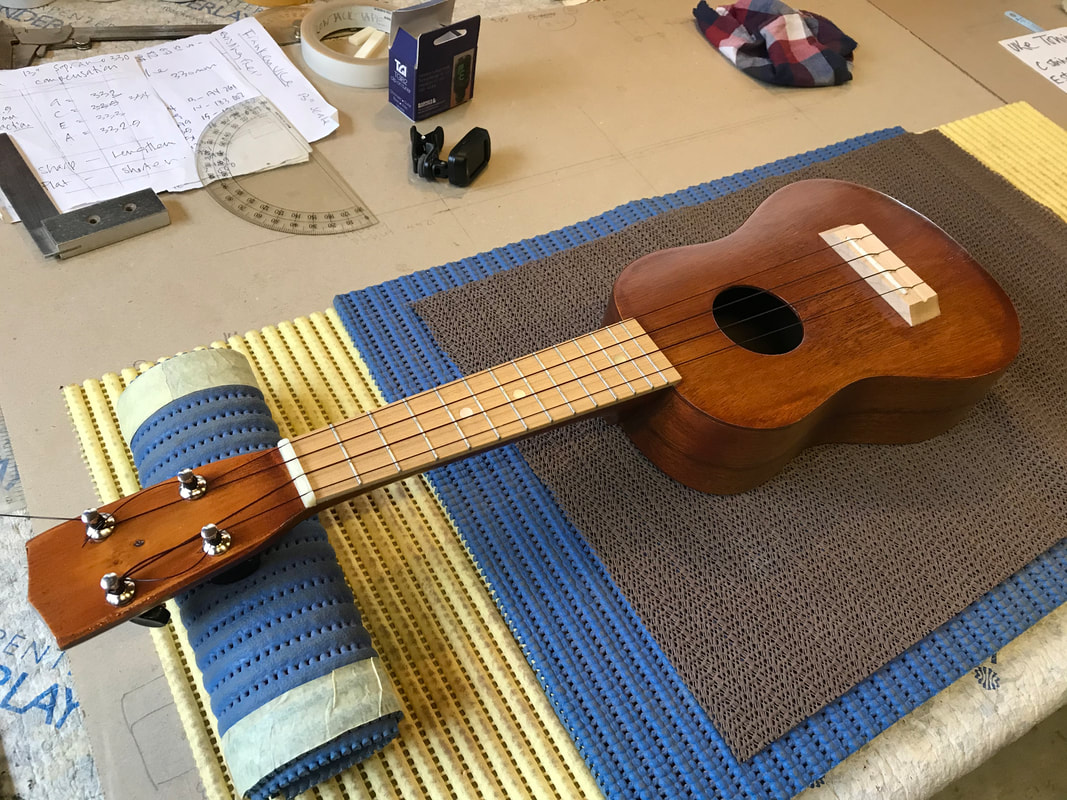
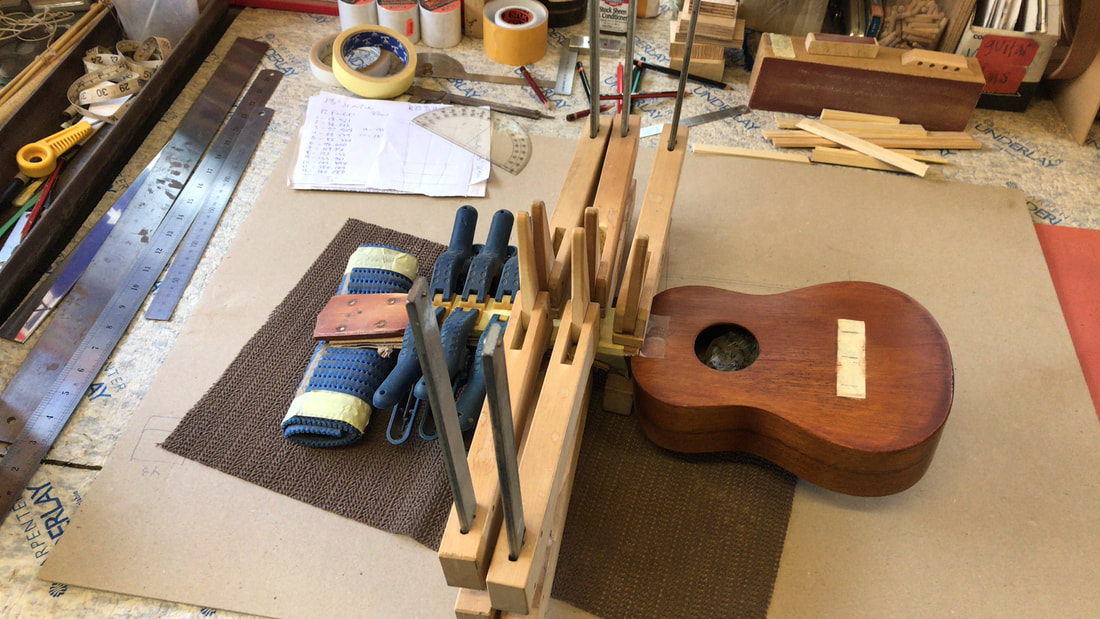
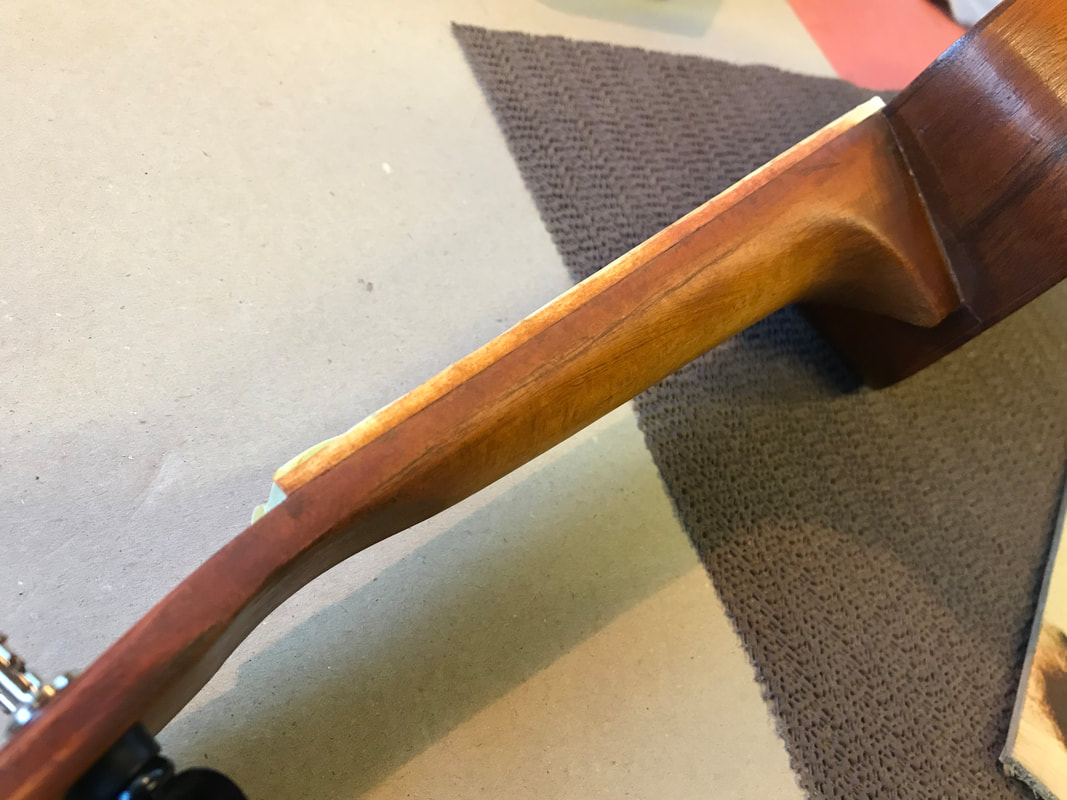
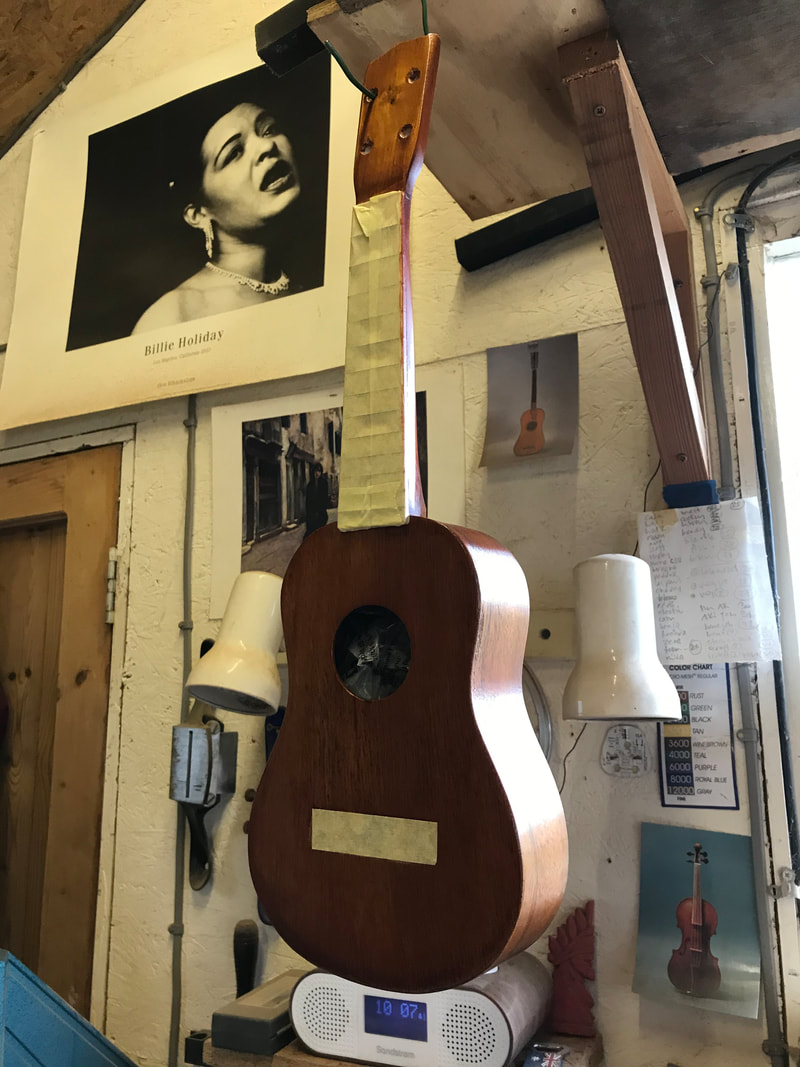
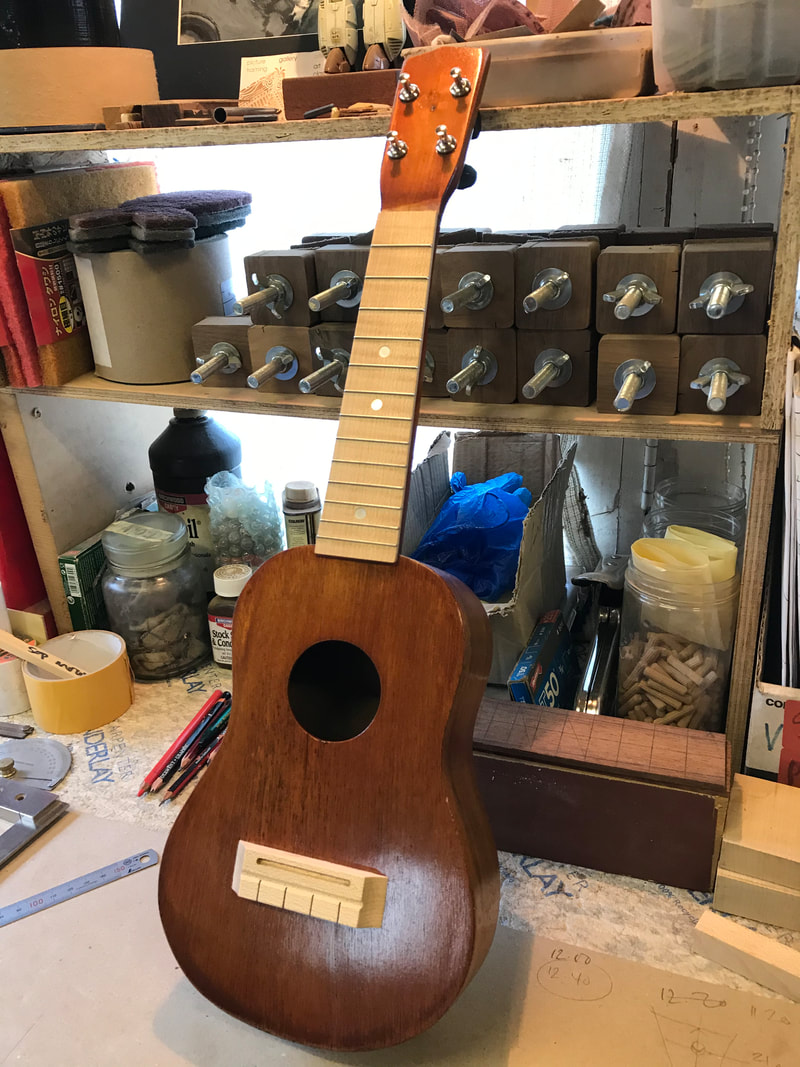
Glued the fingerboard on today. I had to scrape and sand the neck slightly where it joins the fingerboard. Then I applied some oil paint to those parts of the neck affected to match the existing shades. I will leave this for a few days to dry off a bit, then I will be able to blend the transition better before finally sealing it with some tru-oil finish.
|

|
|

|
24/2/21
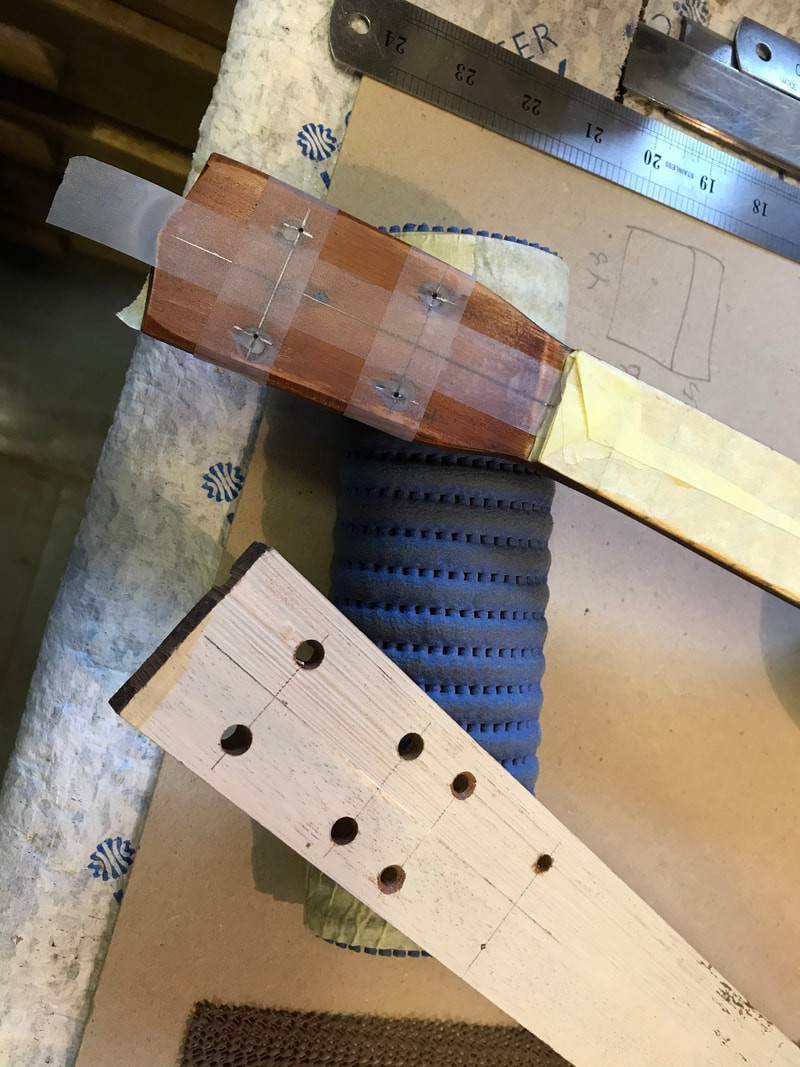
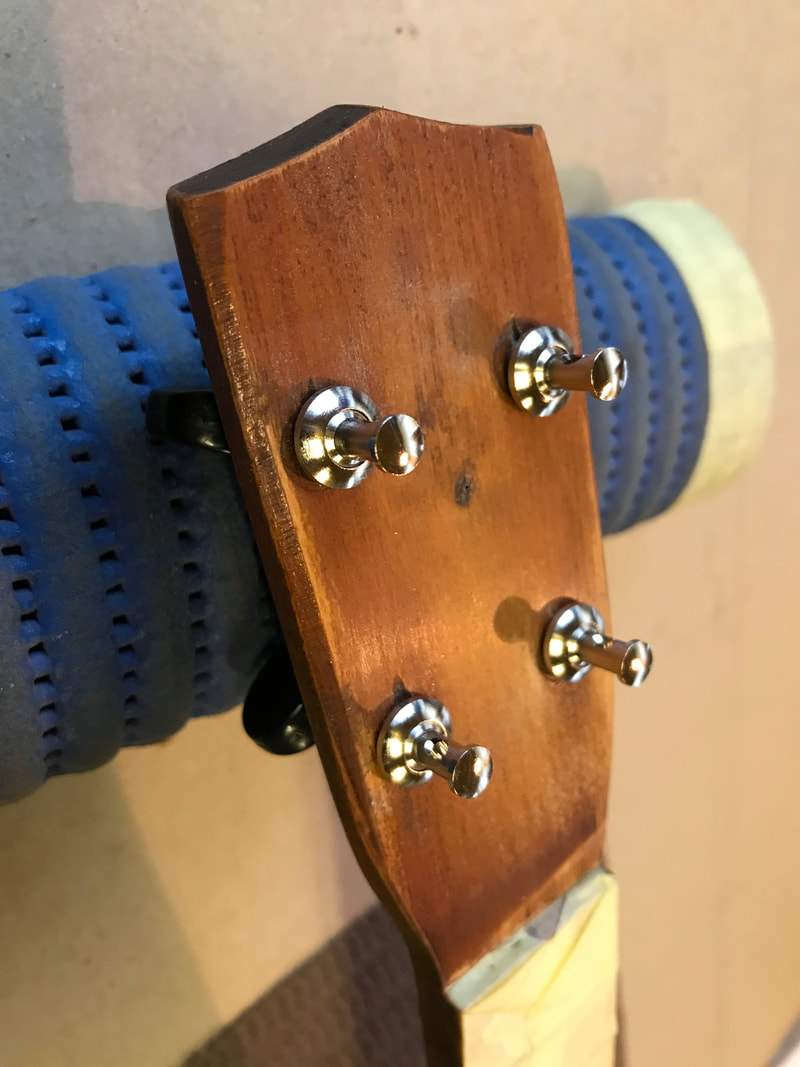
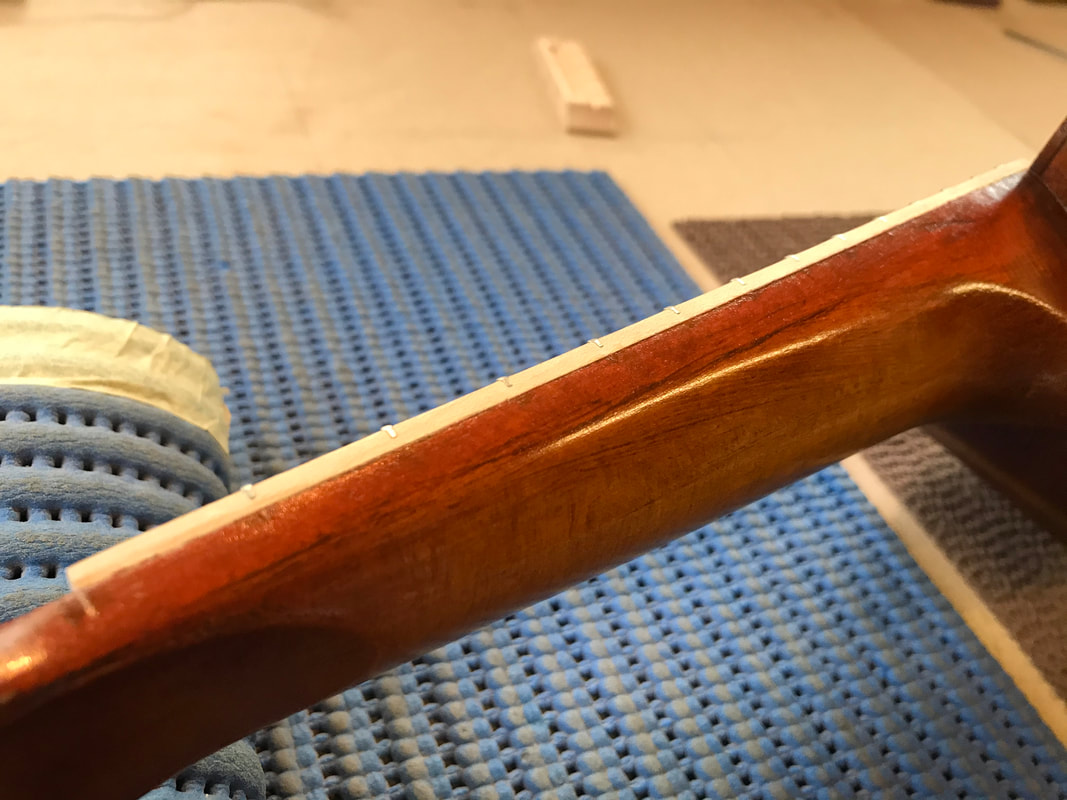
After marking out the new tuner holes I made a few practice runs on some scrap wood to double check everything was ok.
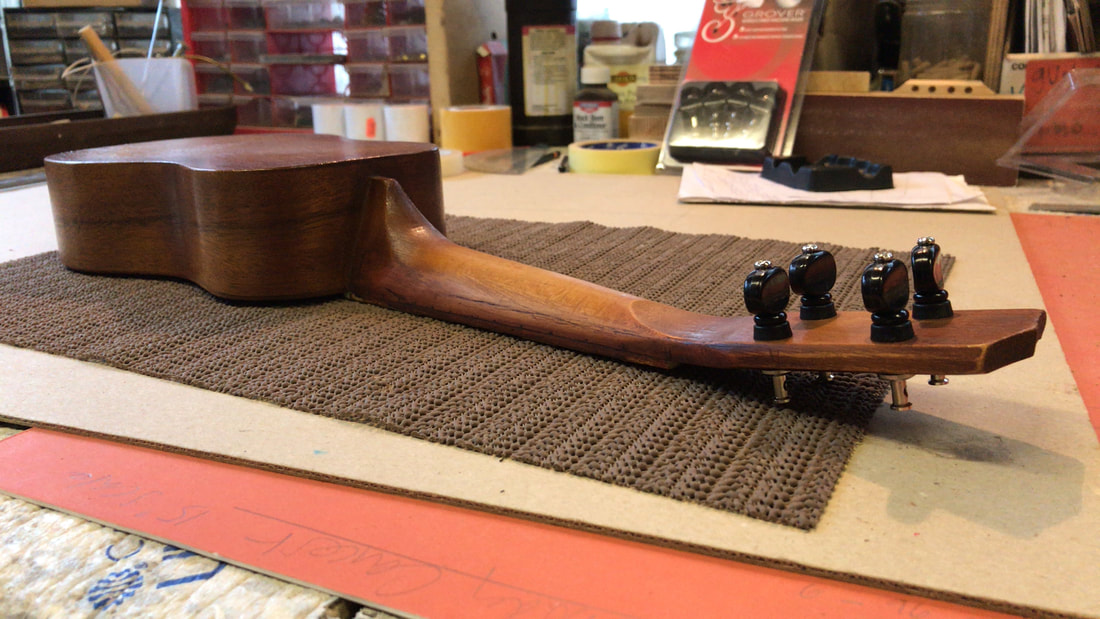
Opted for some "Grover" stat-tite tuners because they are lightweight and reliable. Then, with butt cheeks firmly clenched I drilled the new tuner holes !
After marking out the new tuner holes I made a few practice runs on some scrap wood to double check everything was ok.
Opted for some "Grover" stat-tite tuners because they are lightweight and reliable. Then, with butt cheeks firmly clenched I drilled the new tuner holes !
|
|
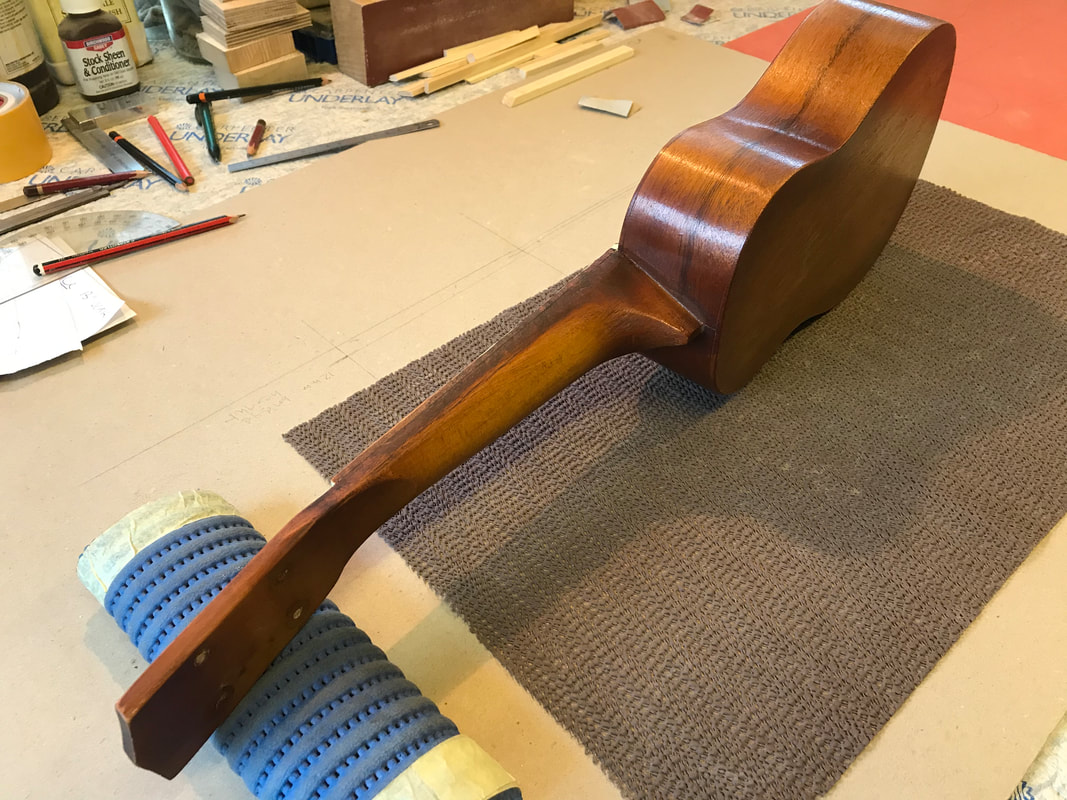
The oil paint is starting to cure so, I made some subtle adjustments to blending in the sanded areas. It will take a couple of weeks to fully complete the finish before the final stages of gluing on the bridge and, stringing the uke up again.

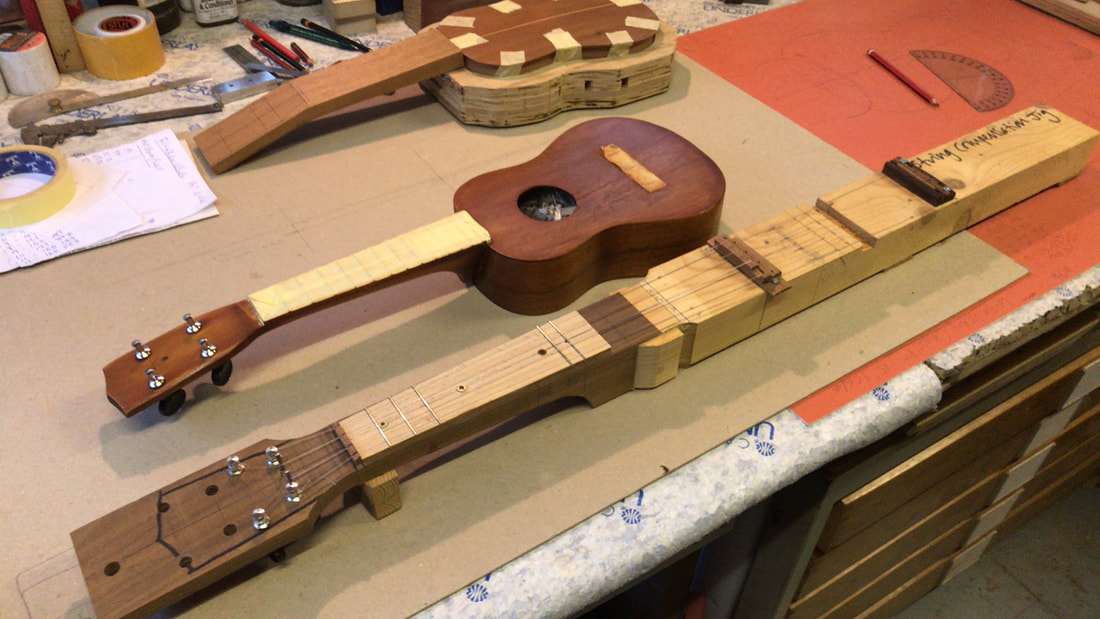
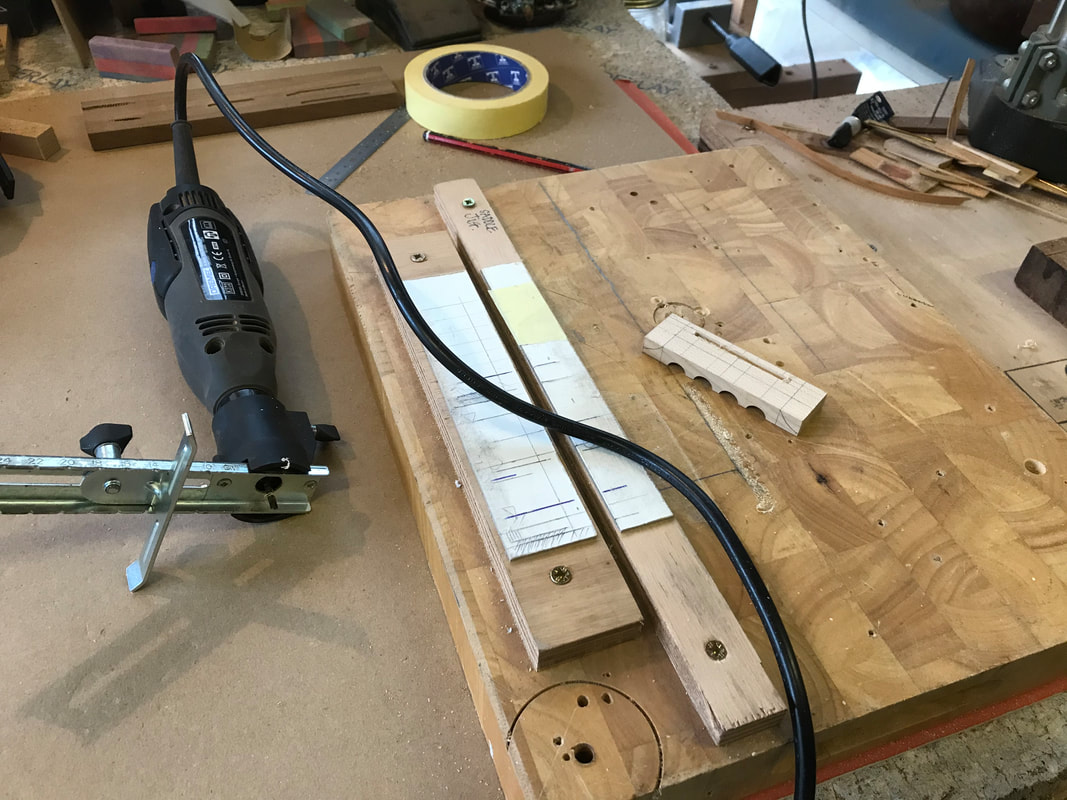
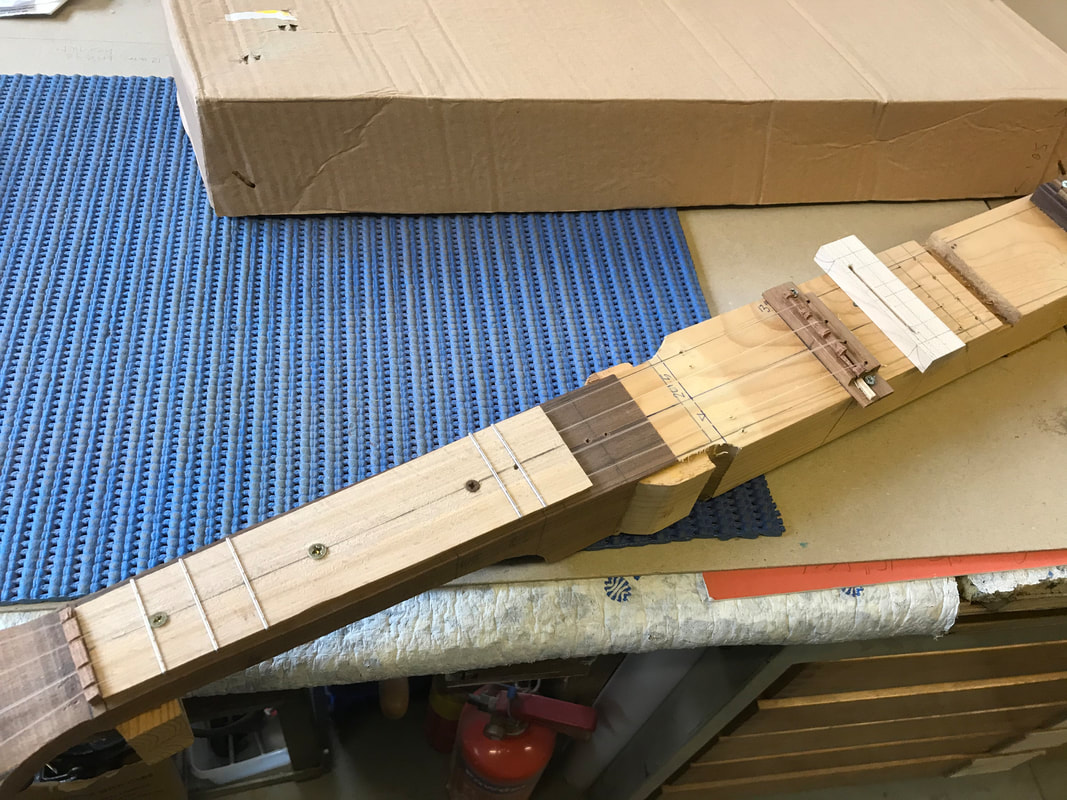
I made this compensation jig many years ago. It comes in handy to calculate the length of each string based on the scale length.
Due to the new bridge incorporating the saddle as part of it's design, I plan to make the necessary adjustments before I glue the bridge on.
Due to the new bridge incorporating the saddle as part of it's design, I plan to make the necessary adjustments before I glue the bridge on.
7/3/21
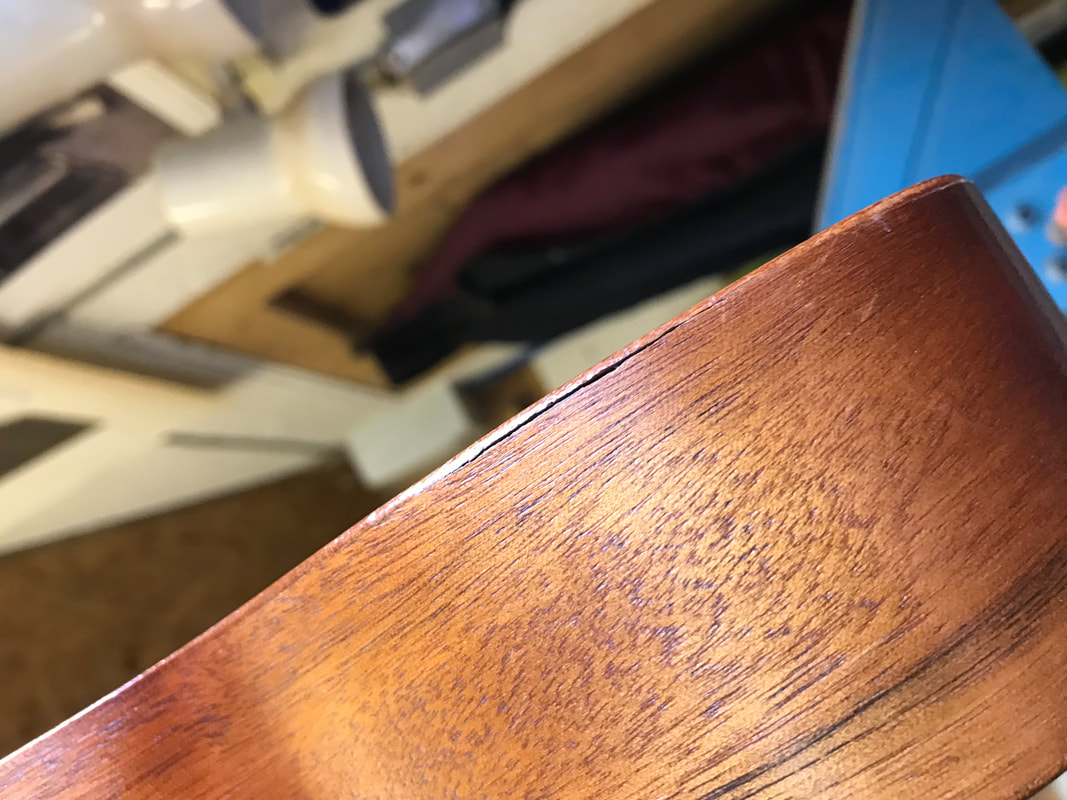
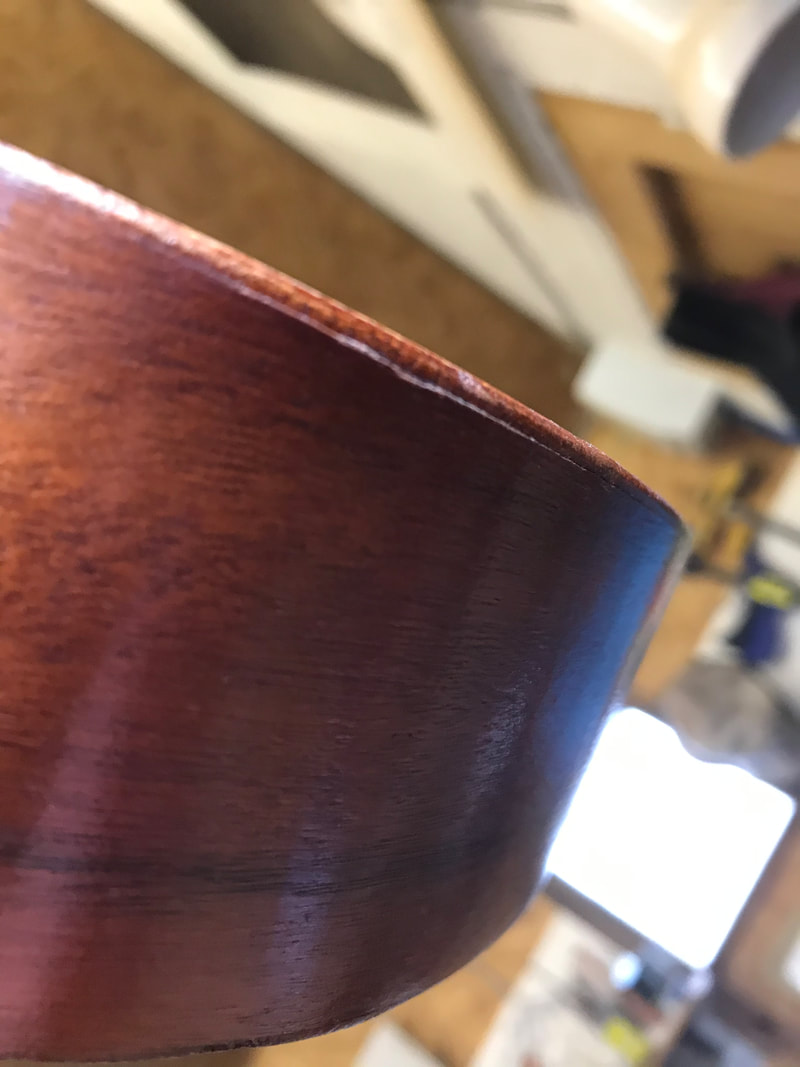
Started to apply an oil finish to the neck and, soundboard, sealing the oil paint touch ups. I also noticed two cracks in the seam where the sides join the backplate so,they have been stabilized.
Started to apply an oil finish to the neck and, soundboard, sealing the oil paint touch ups. I also noticed two cracks in the seam where the sides join the backplate so,they have been stabilized.
|
|
|
|
14/3/21
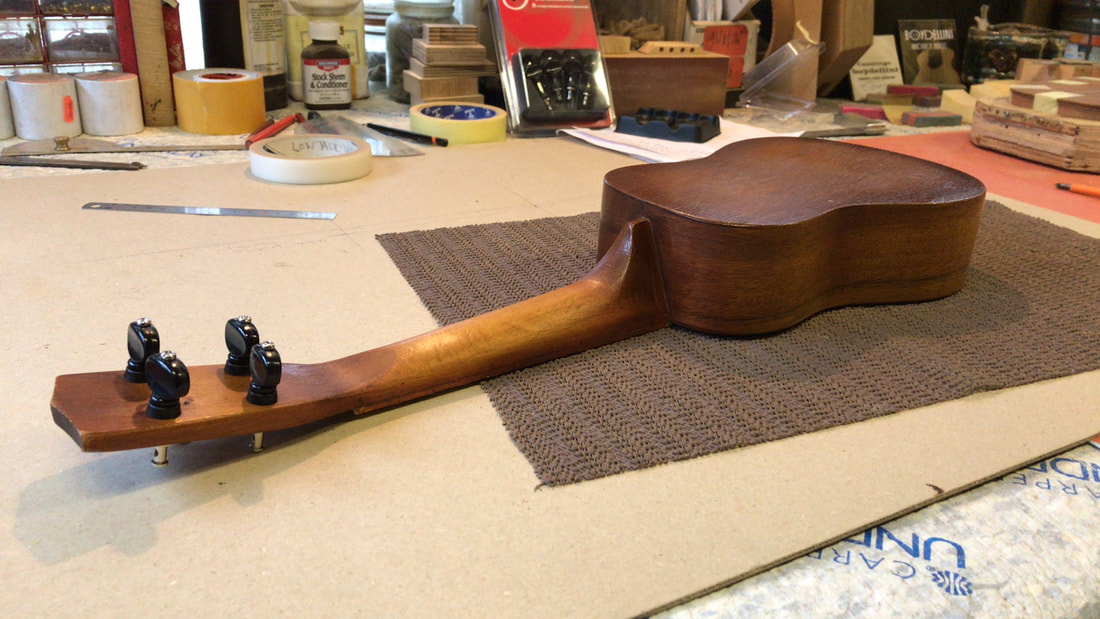
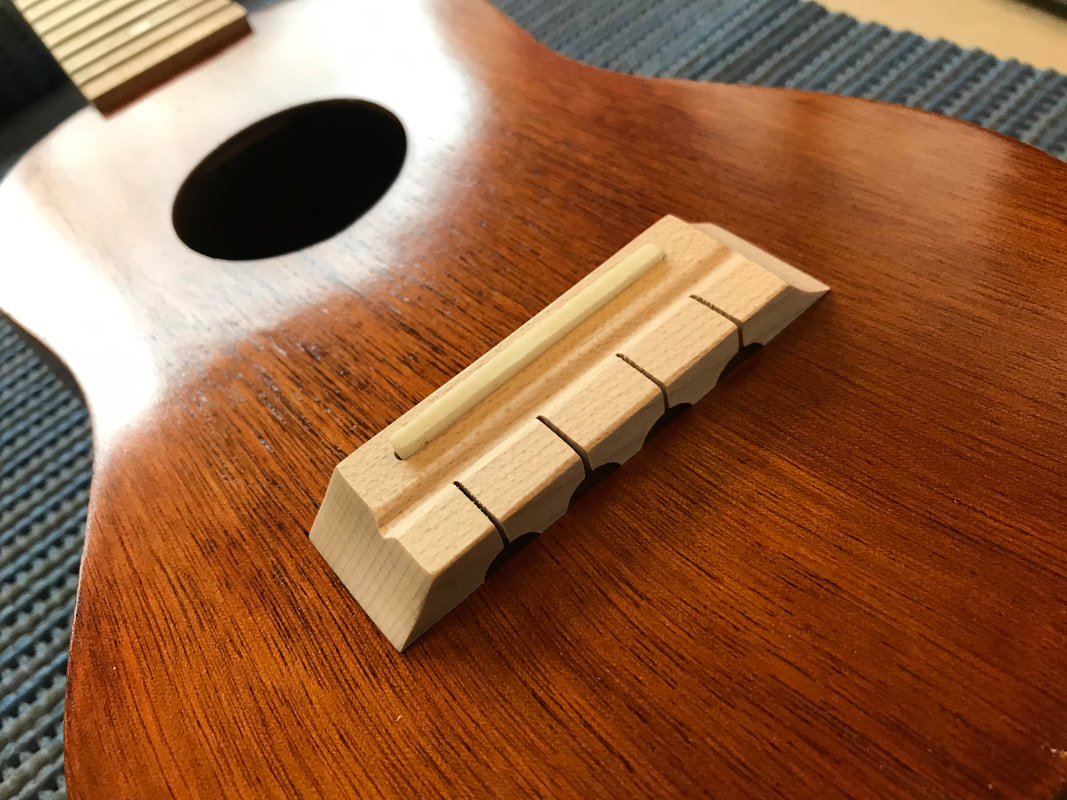
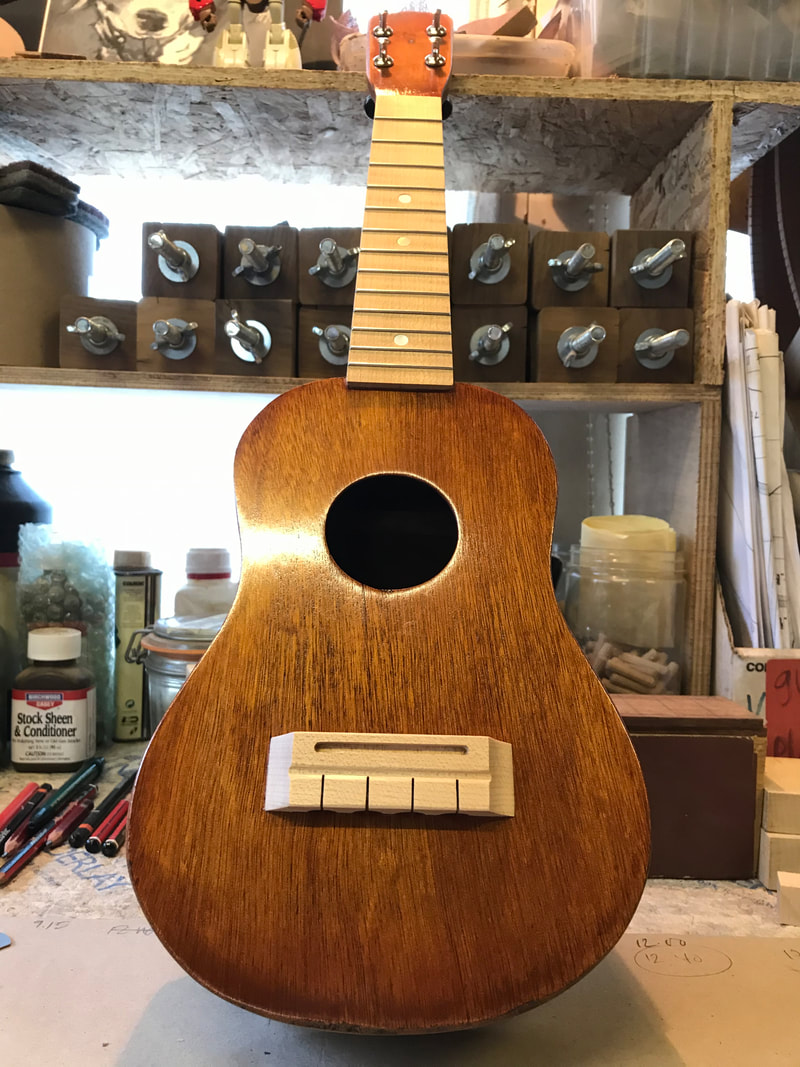
In total I applied 5 coats of tru-oil on the neck and soundboard. I'm happy with the results so, now I'm working on the bridge prior to gluing it back on.
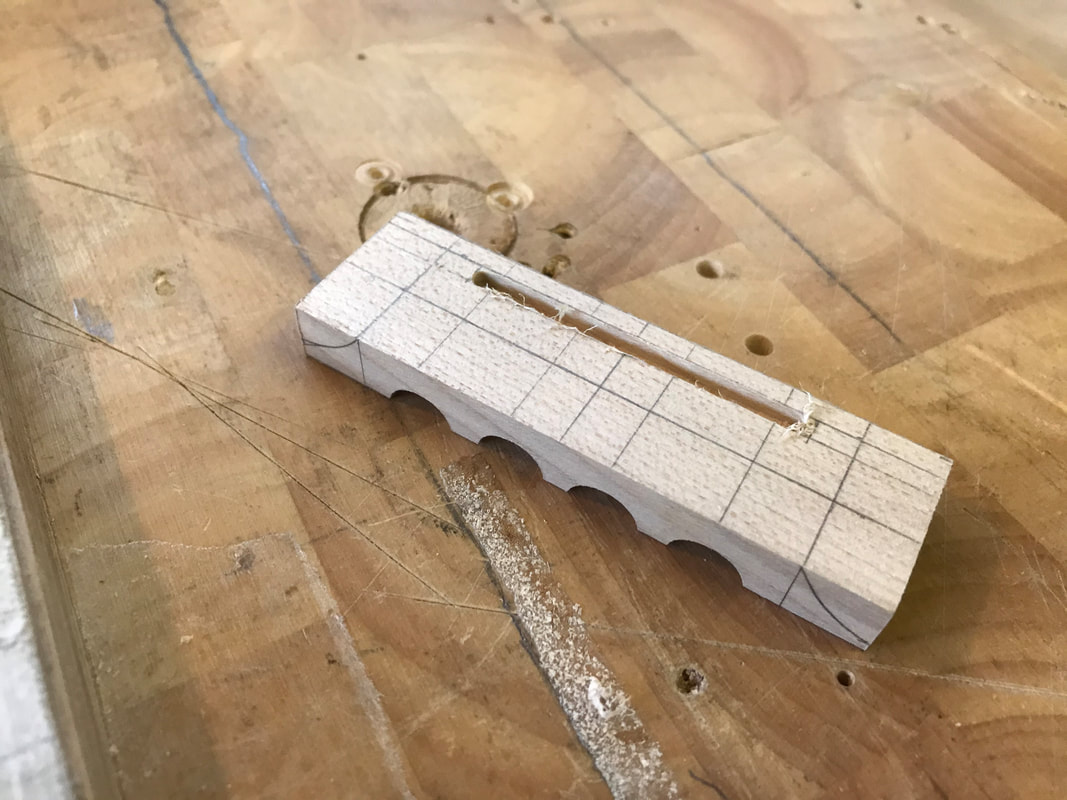
I decided to make a new bridge with a saddle slot based around the design of the original bridge. I feel more confident that good intonation can be achieved using a saddle. It also makes any future changes to strings/intonation easier if there is a saddle to adjust/change.
In total I applied 5 coats of tru-oil on the neck and soundboard. I'm happy with the results so, now I'm working on the bridge prior to gluing it back on.
I decided to make a new bridge with a saddle slot based around the design of the original bridge. I feel more confident that good intonation can be achieved using a saddle. It also makes any future changes to strings/intonation easier if there is a saddle to adjust/change.
|
|
|
|
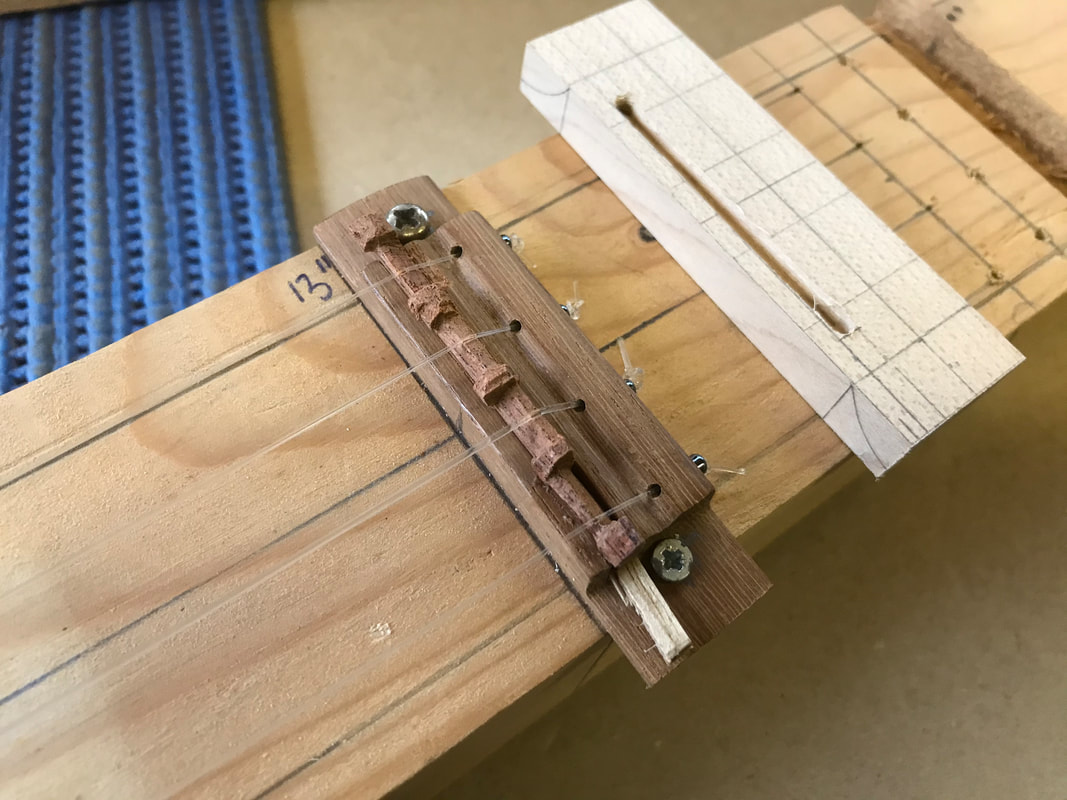
Each string length has been roughly calculated. This will help me locate the bridge position on the soundboard.
|
|
|
|
15/3/21
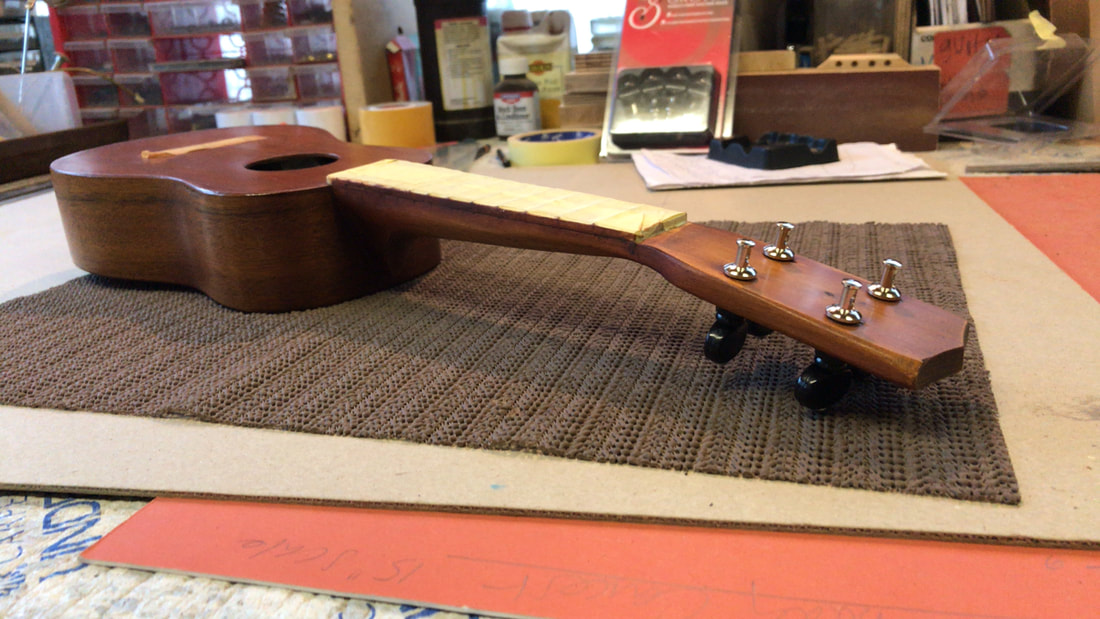
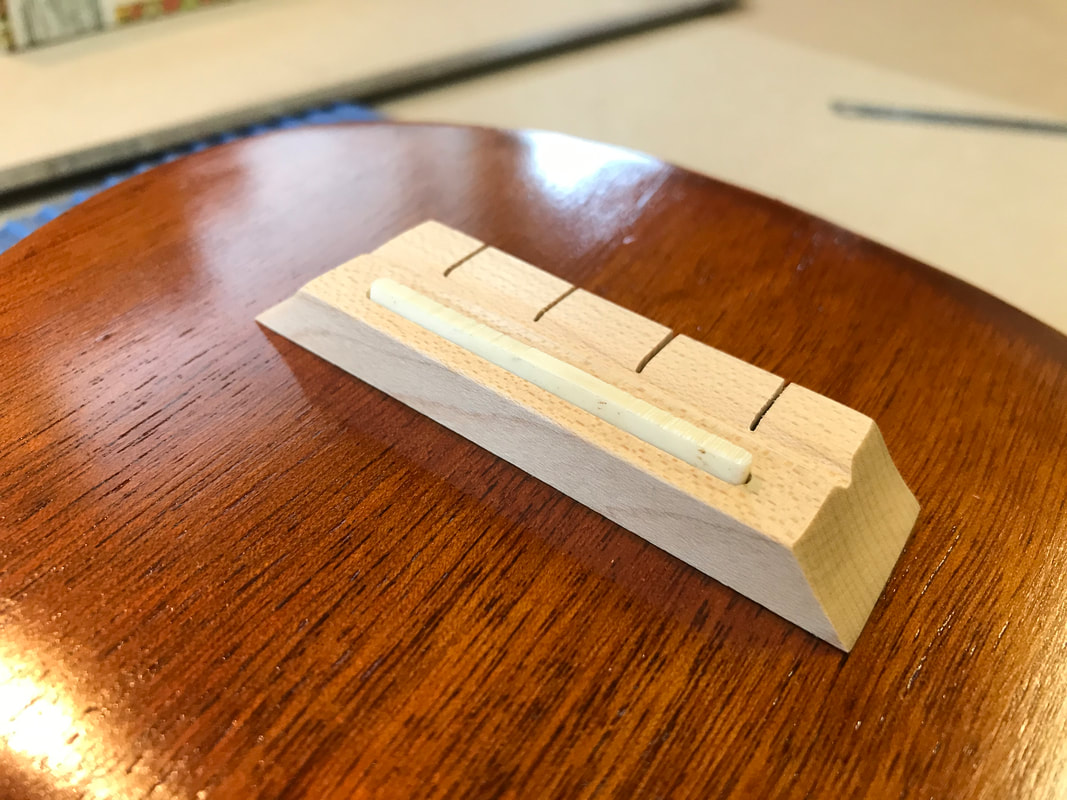
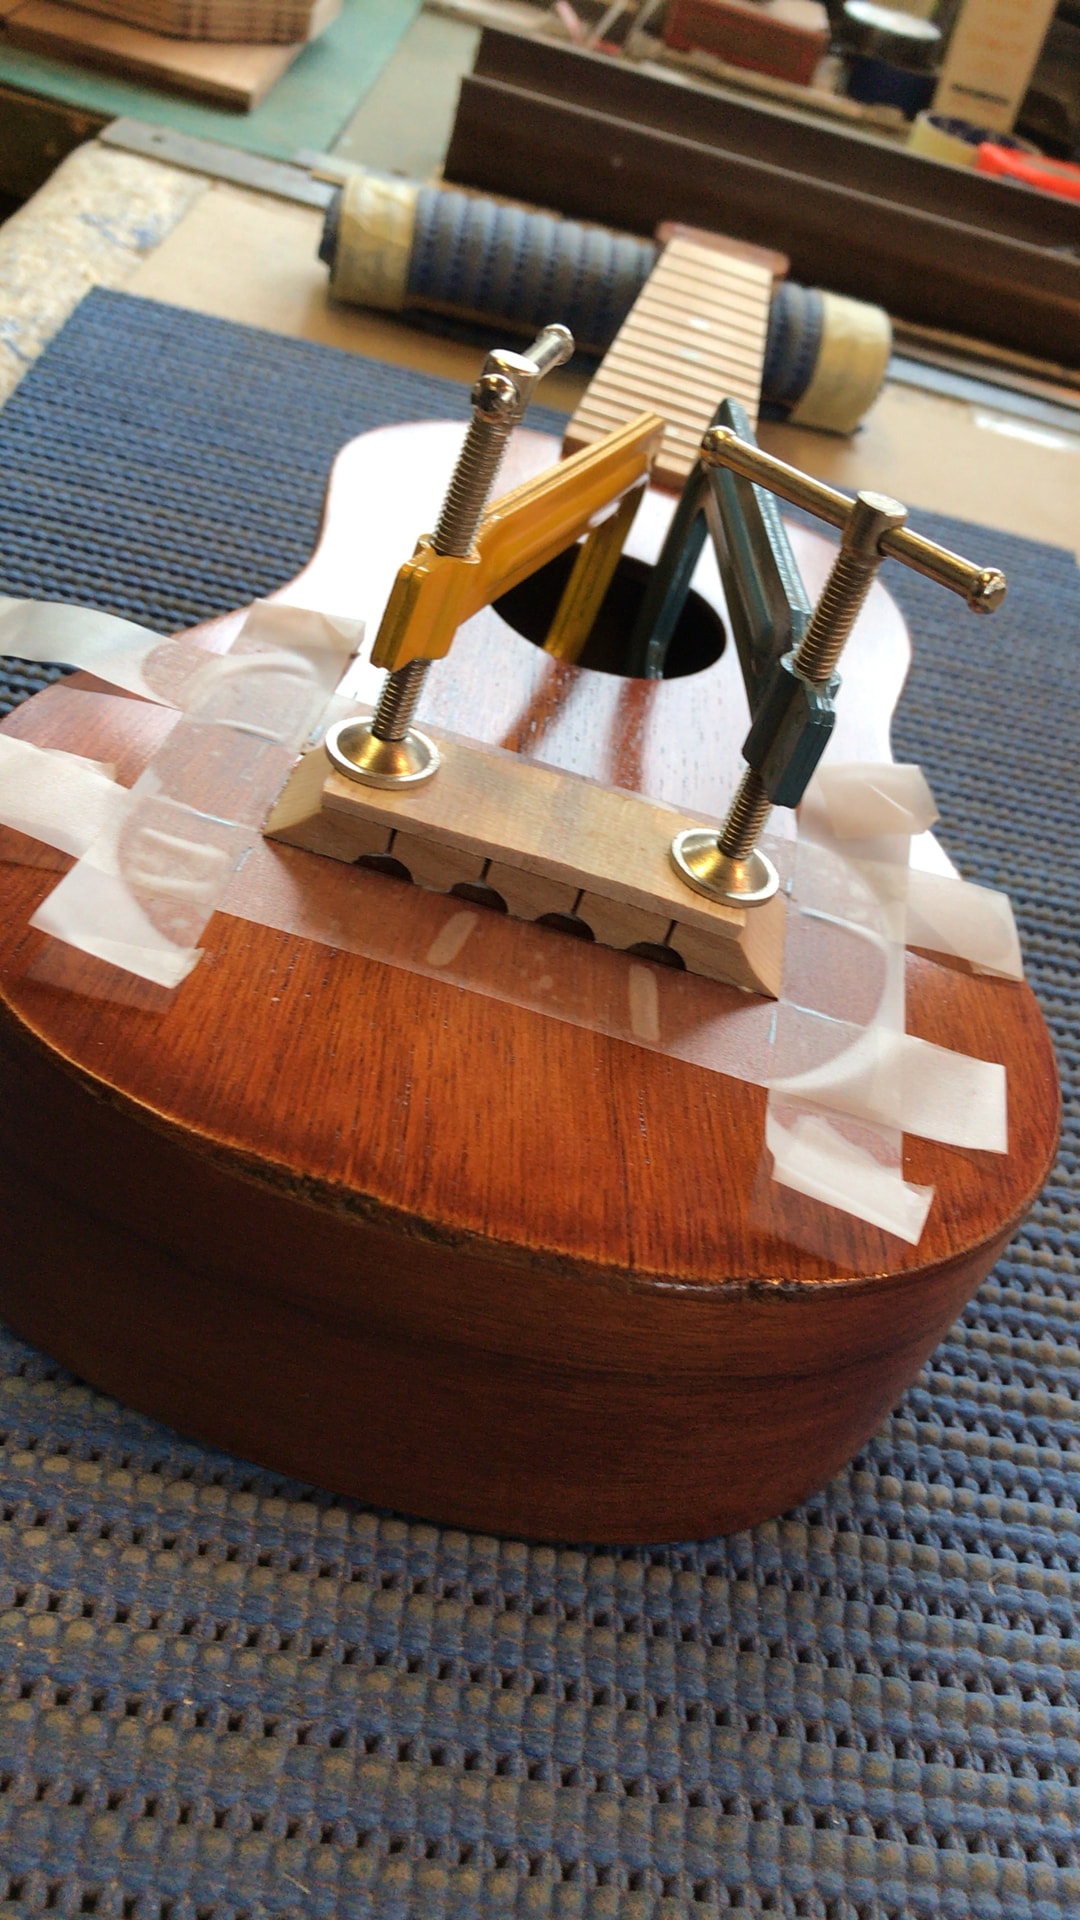
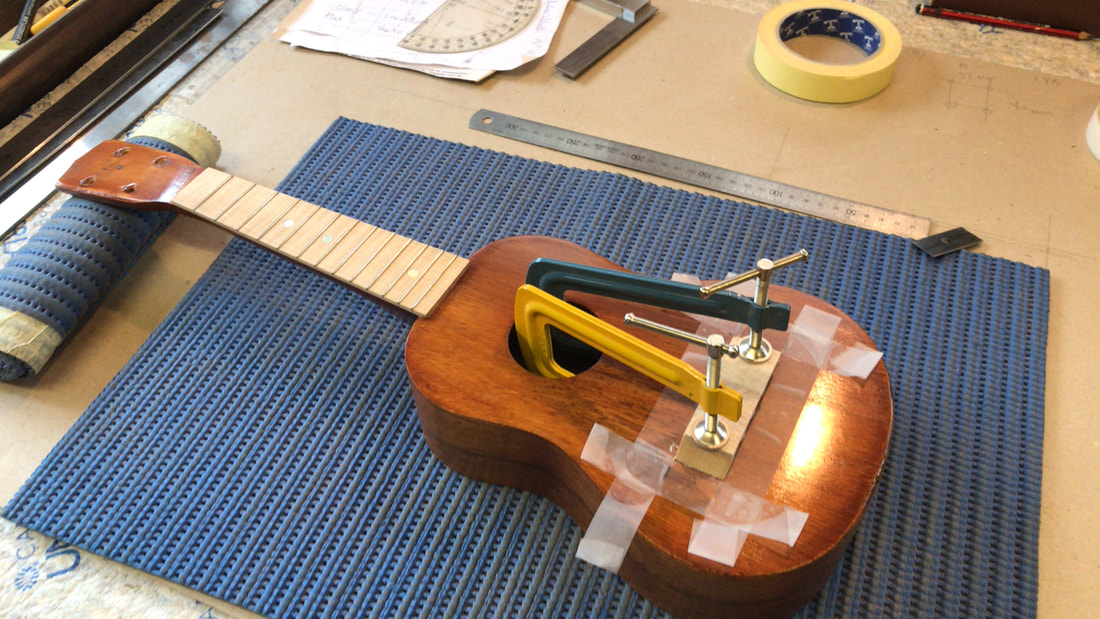
Glued the bridge on today :)
I will leave it now for a few days before fitting the strings.
Glued the bridge on today :)
I will leave it now for a few days before fitting the strings.
|
|
|
|