back
19/11/17
Stage one of the binding and purfling ...
Stage one of the binding and purfling ...
|
|
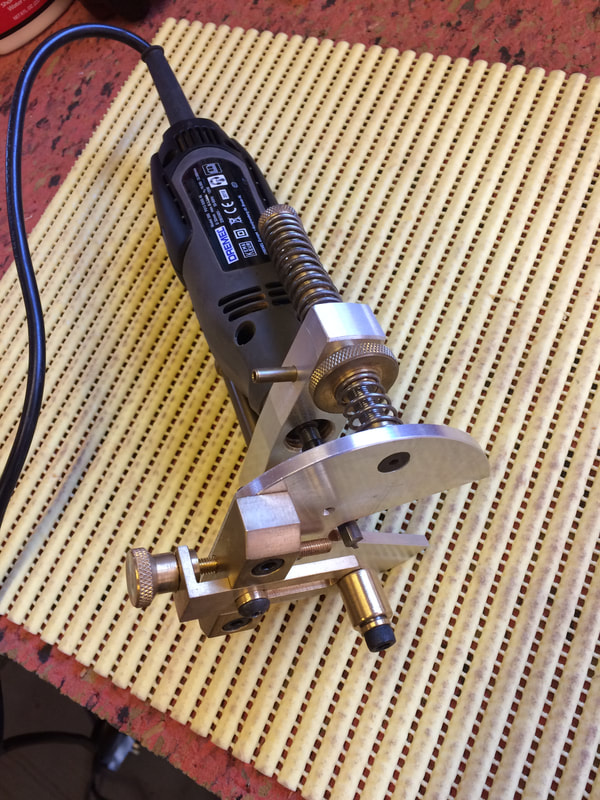
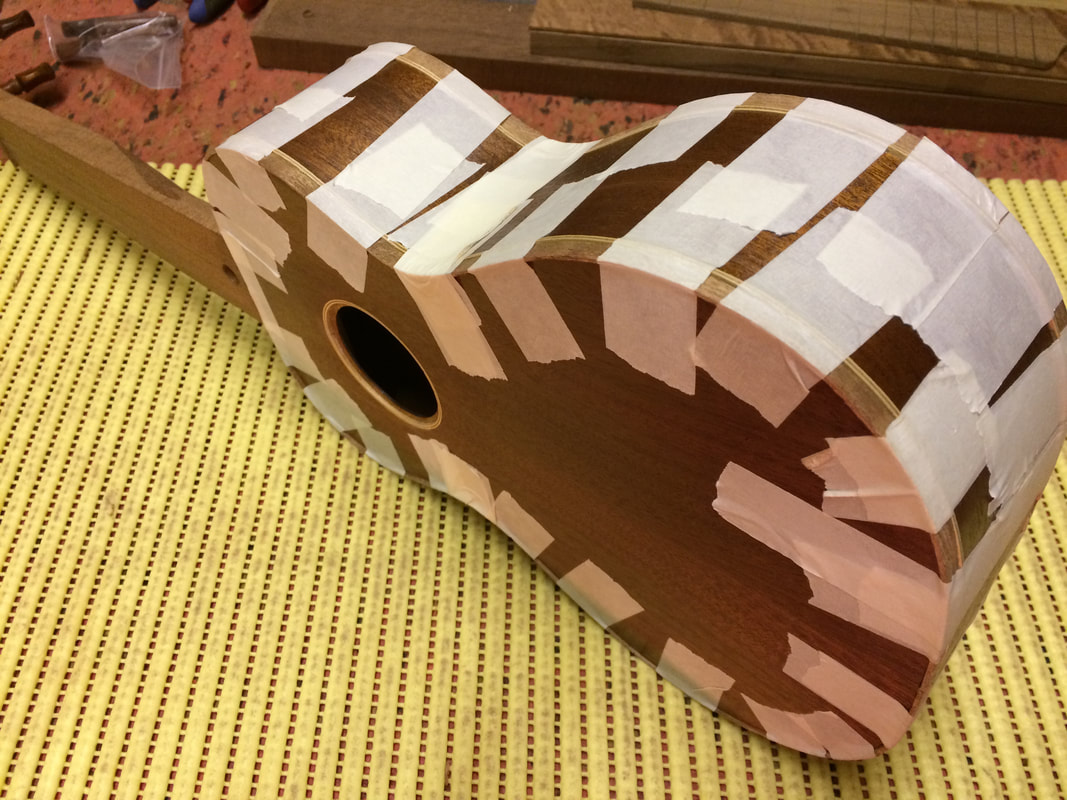
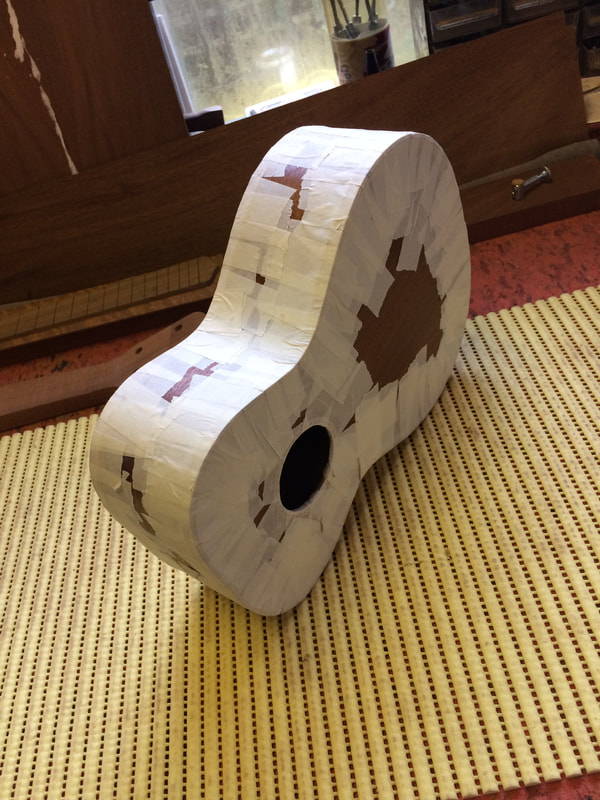
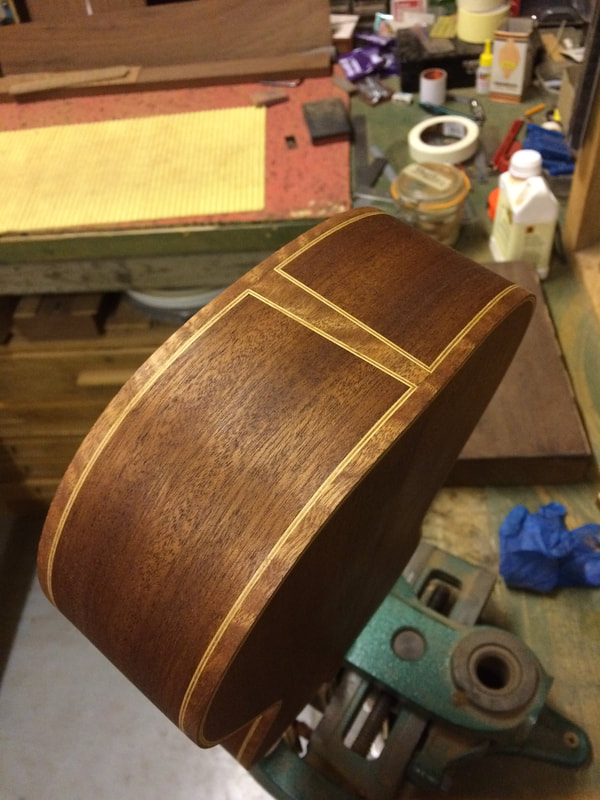
The soundox is secured to the bench in a simple jig, then the binding cutter is set for depth and width of cut....

|
|
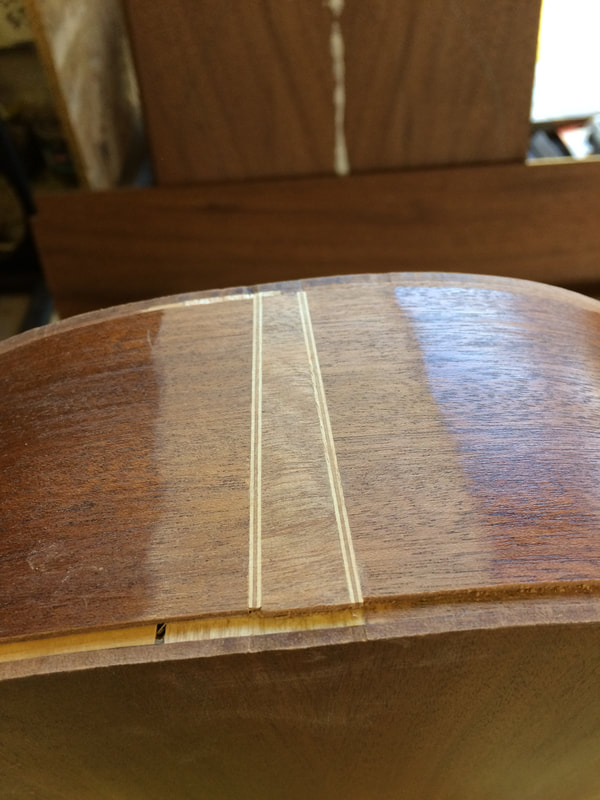
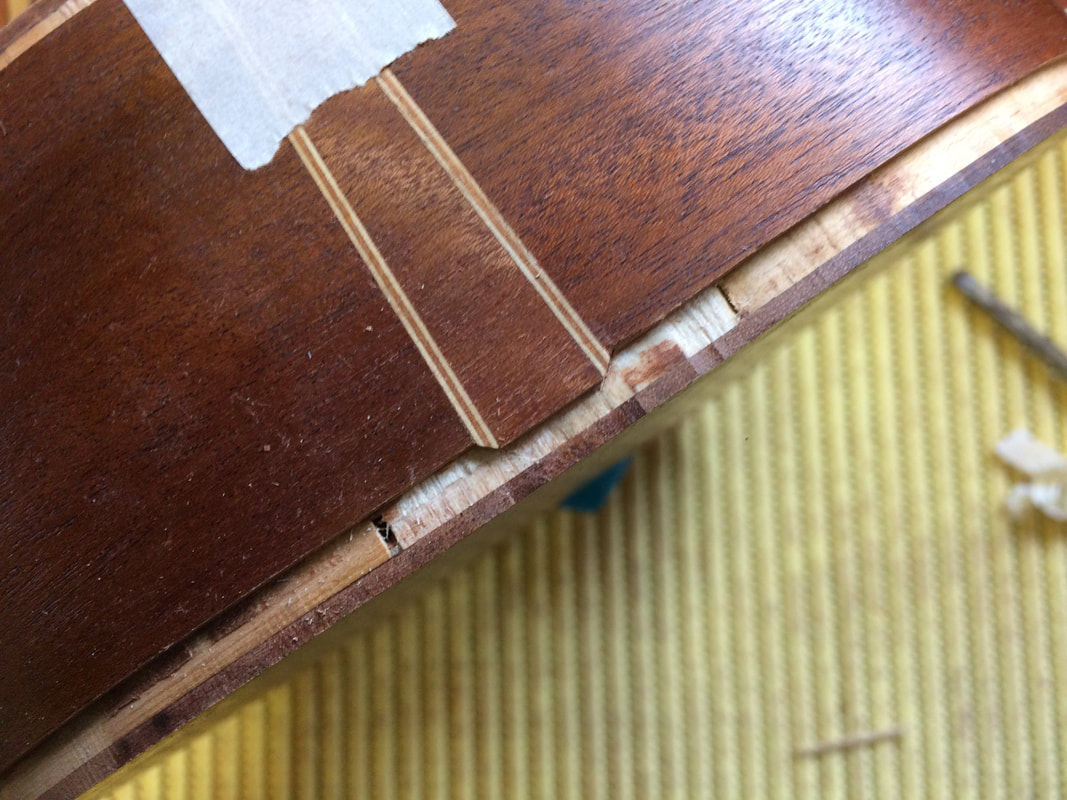
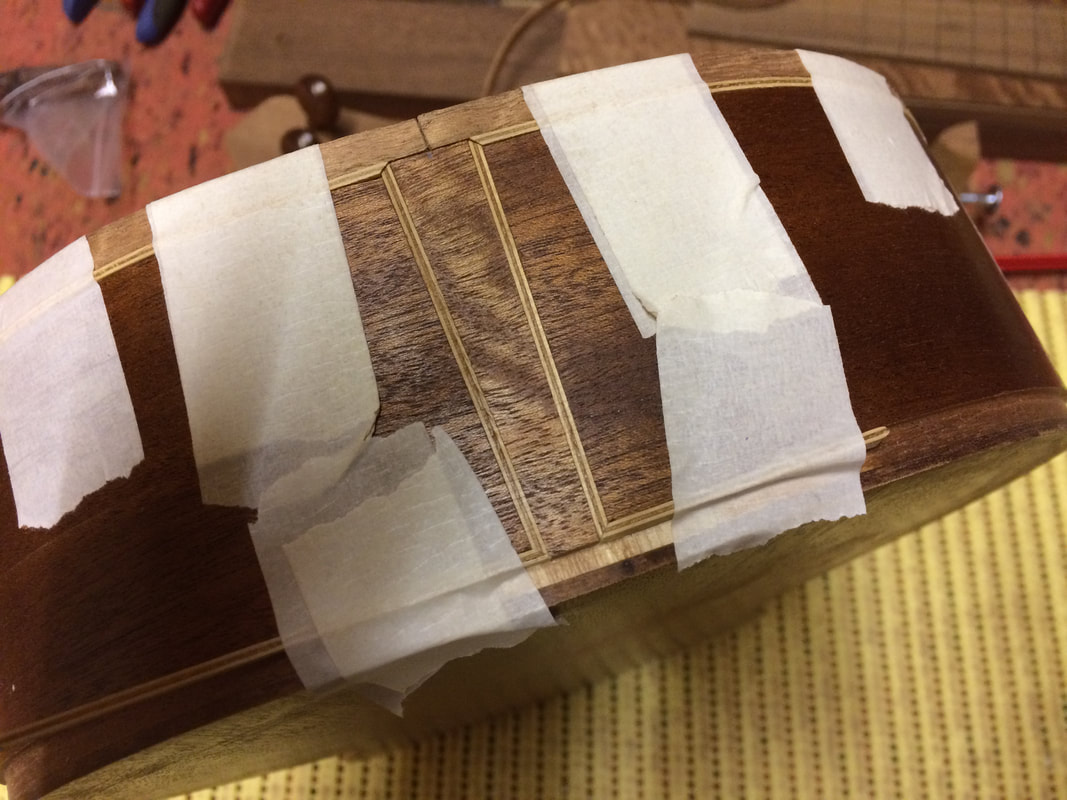
The first cut is for the flamed bindings, and once cut, I was able to install the endgraft inlay ...
|
|
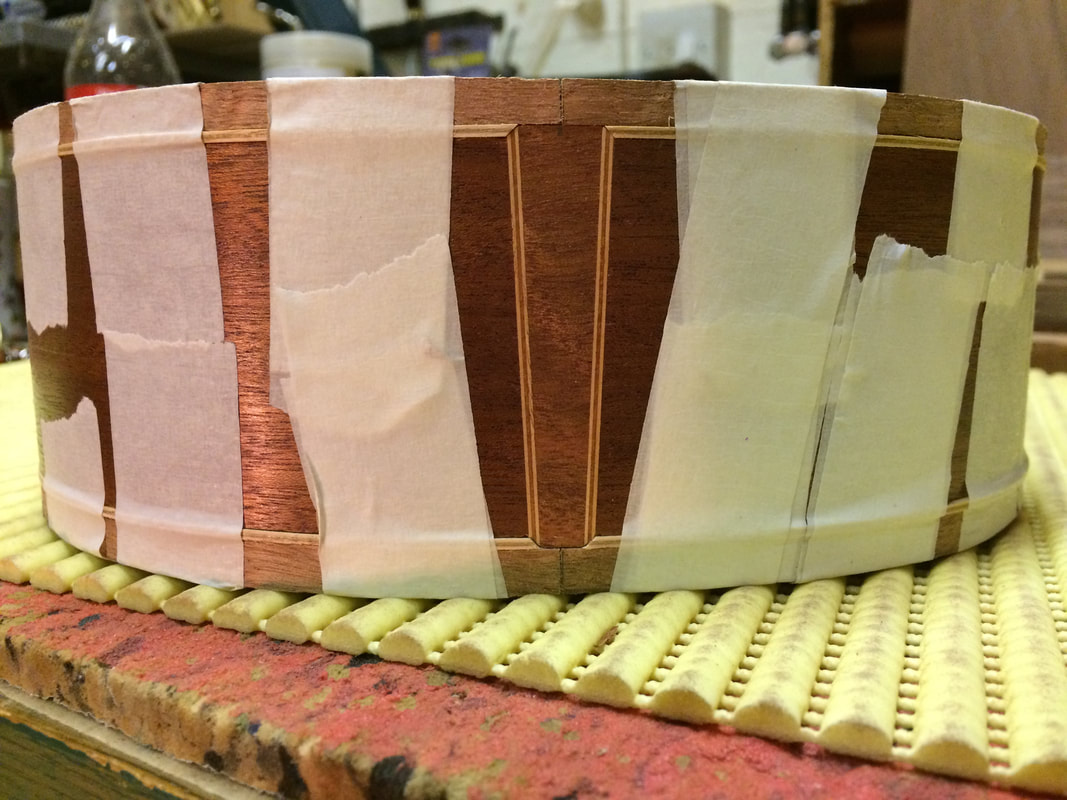
A lower cut was then made for the side purflings, which are mitred to the endgraft detail.
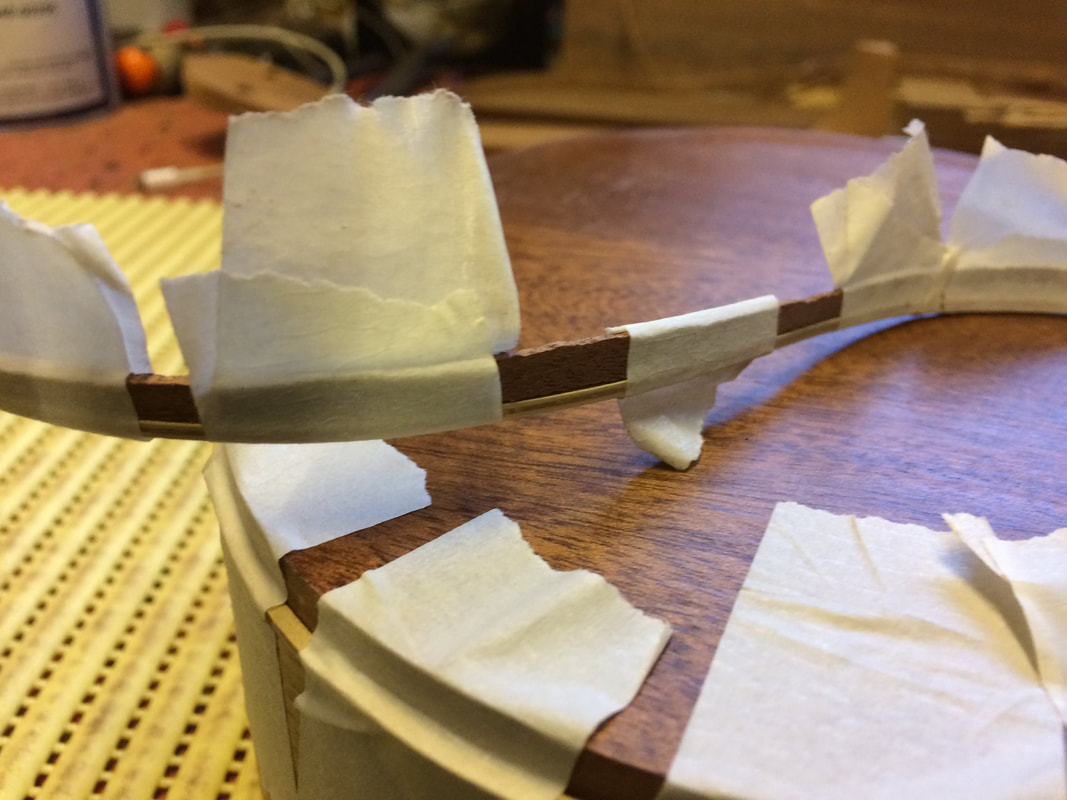
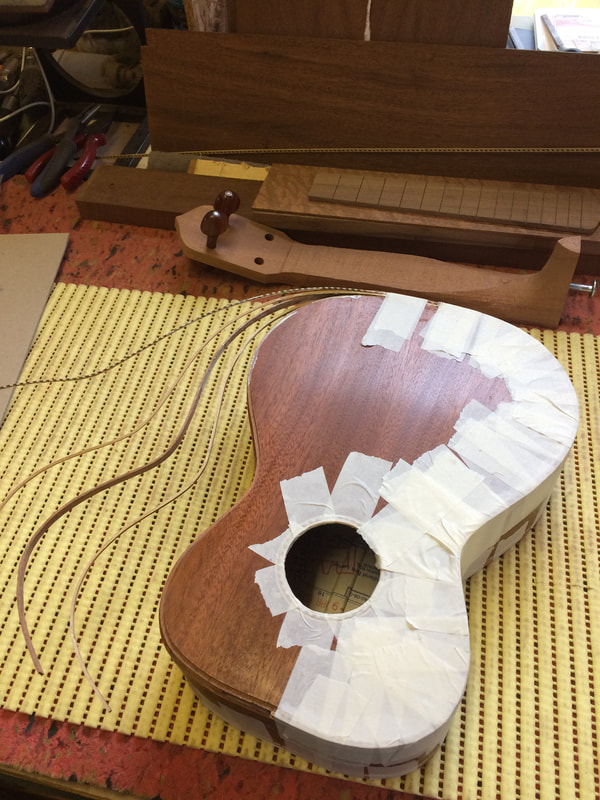
The side purflings were taped to a piece of scrap wood to support them whilst bending.
The side purflings were taped to a piece of scrap wood to support them whilst bending.
|
|
21/11/17
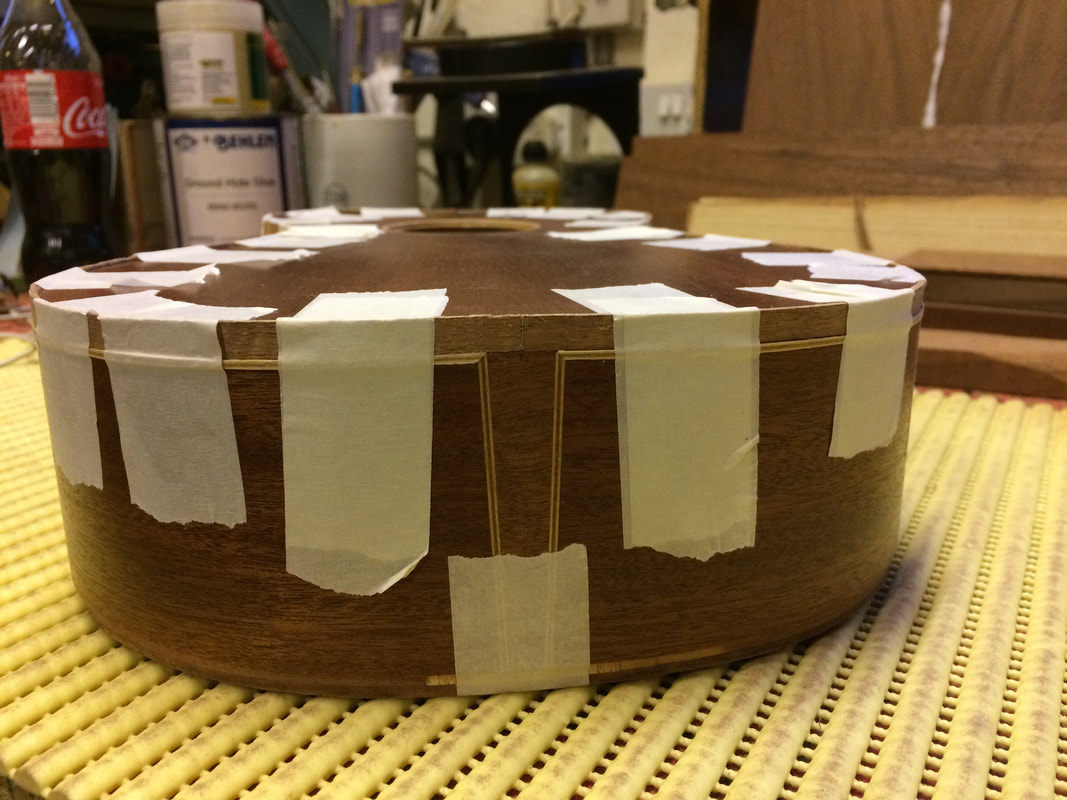
Side and (the first of two) top purflings almost ready for gluing ..
Side and (the first of two) top purflings almost ready for gluing ..
22/11/17
Decided to add even more bling ...
Decided to add even more bling ...

|
|

26/11/17
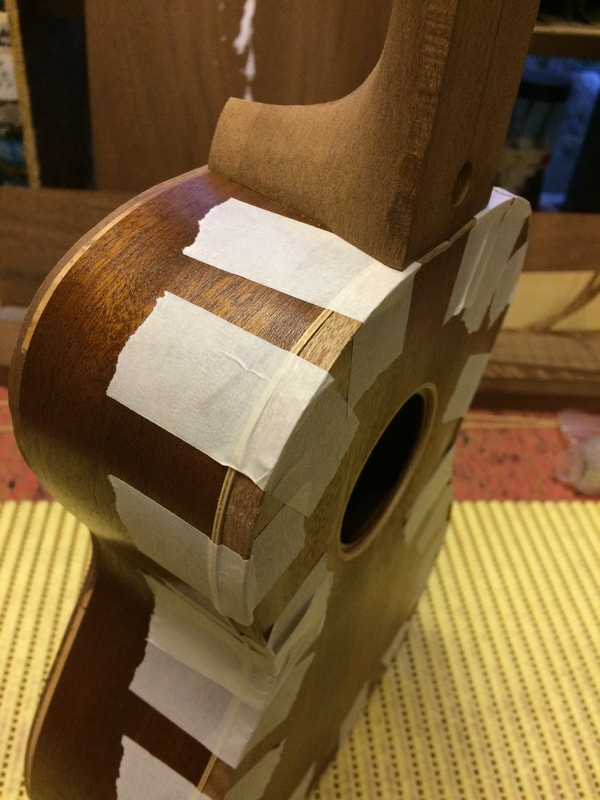
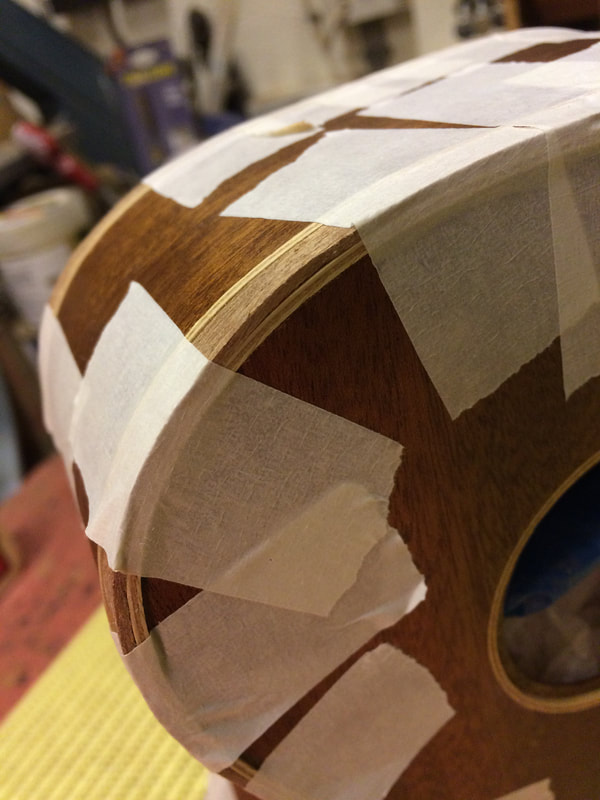
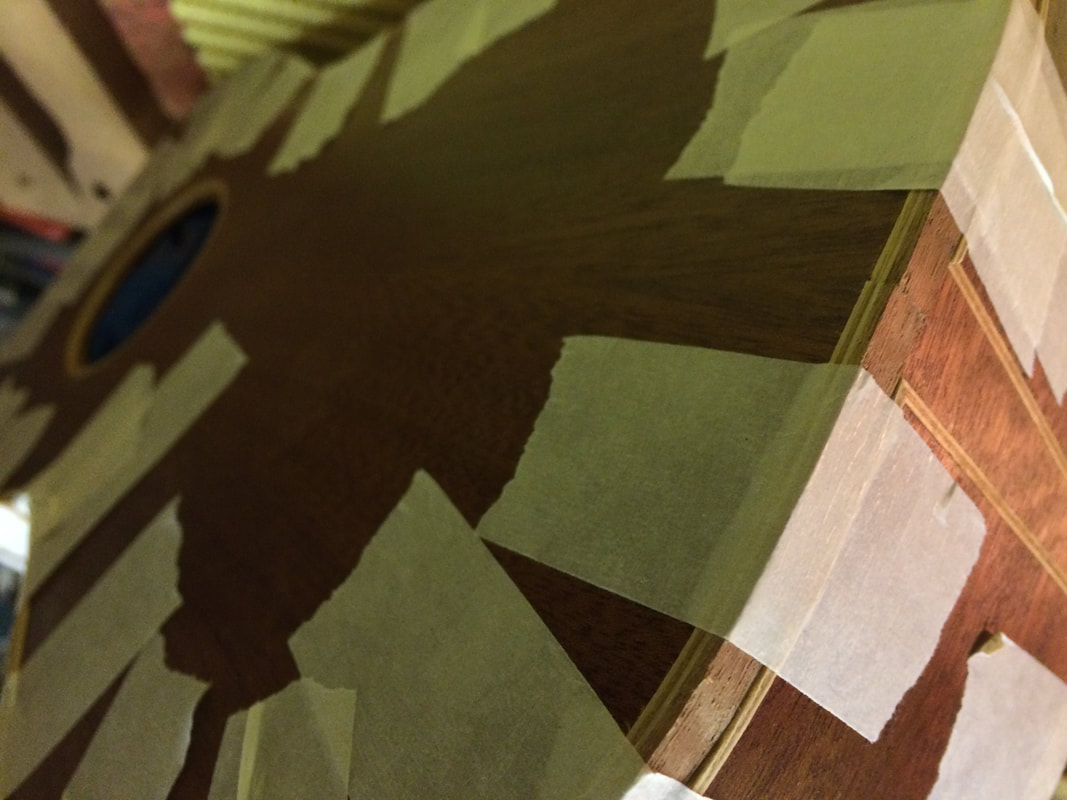
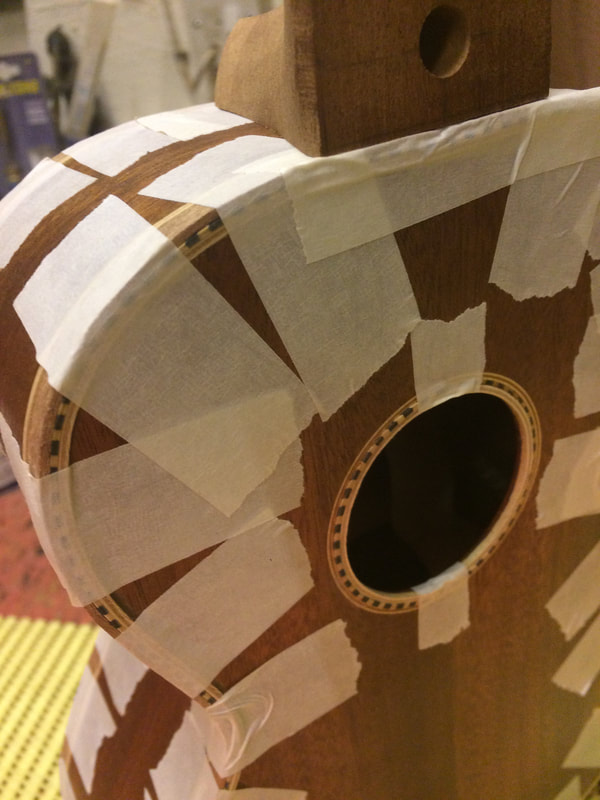
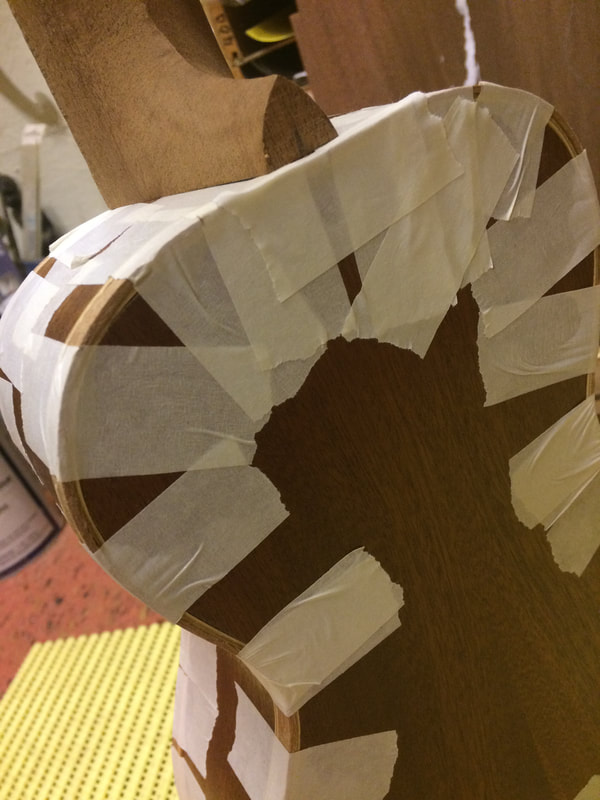
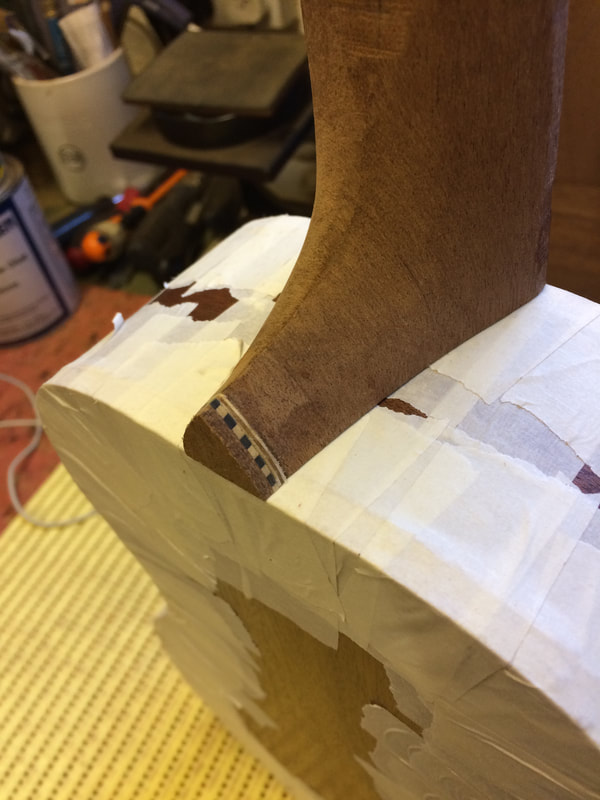
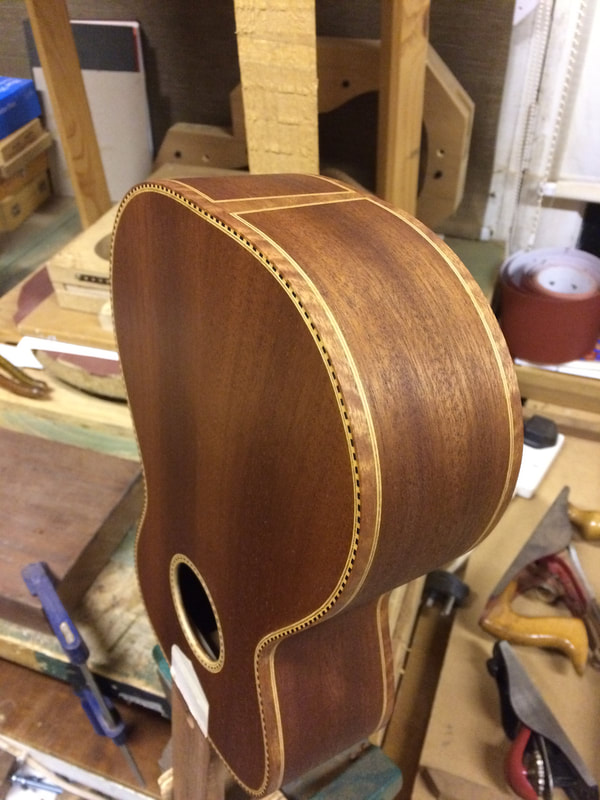
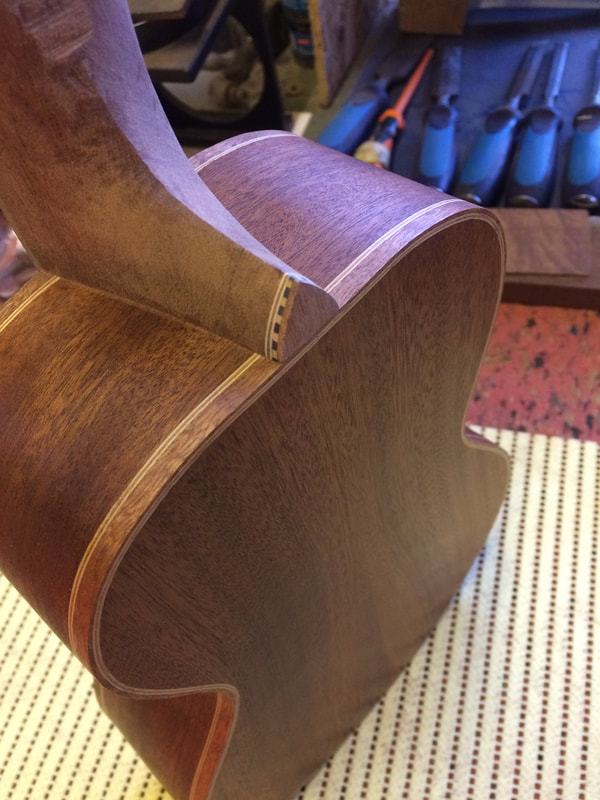
Bindings, purflings and the rosette all glued in today. I also made a layered heel cap to match :)
Bindings, purflings and the rosette all glued in today. I also made a layered heel cap to match :)
|
|
Working quickly, I find it better to glue all four parts of the binding and purfling at the same time.
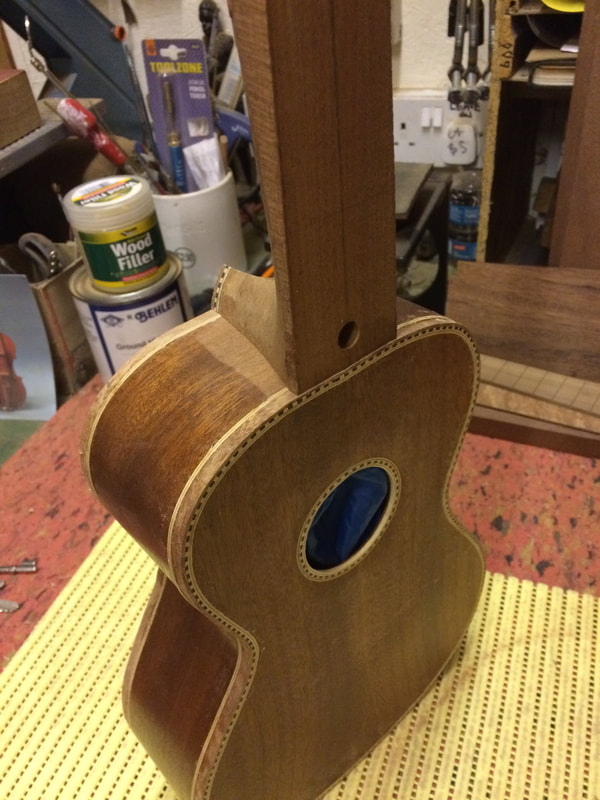
Now begins a long process of scraping and sanding the sound box, in preparation for the finish ...
|
|
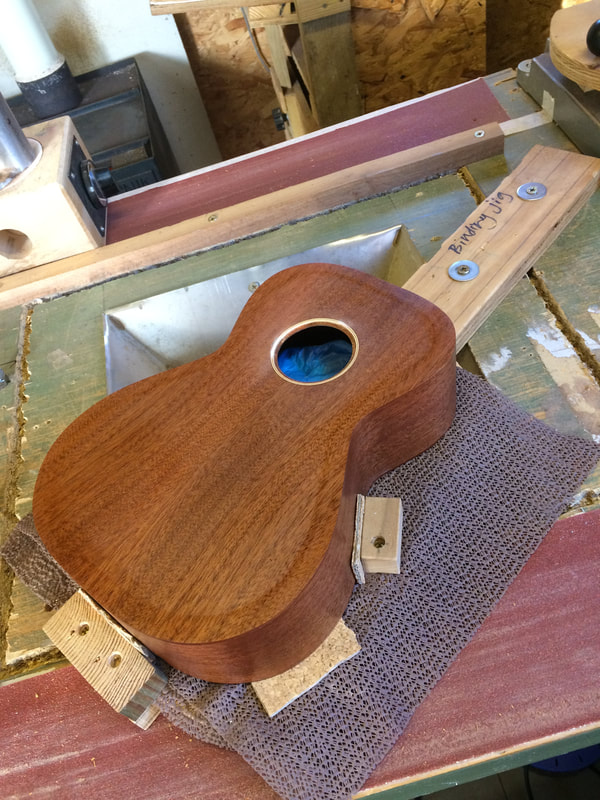
Initial sanding back to 120 grit. Applied a coat of shellac to highlight any glue residue. Will now go through finer grits before starting the final finish.
|
|
|
|
11/12/17
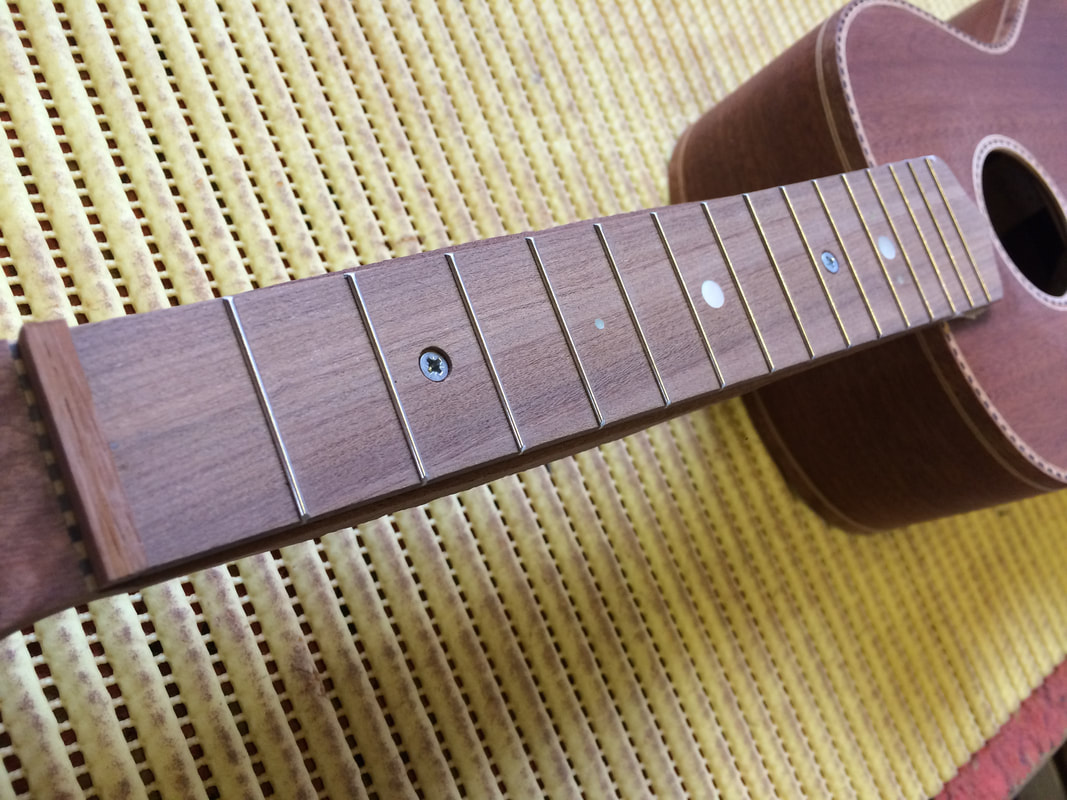
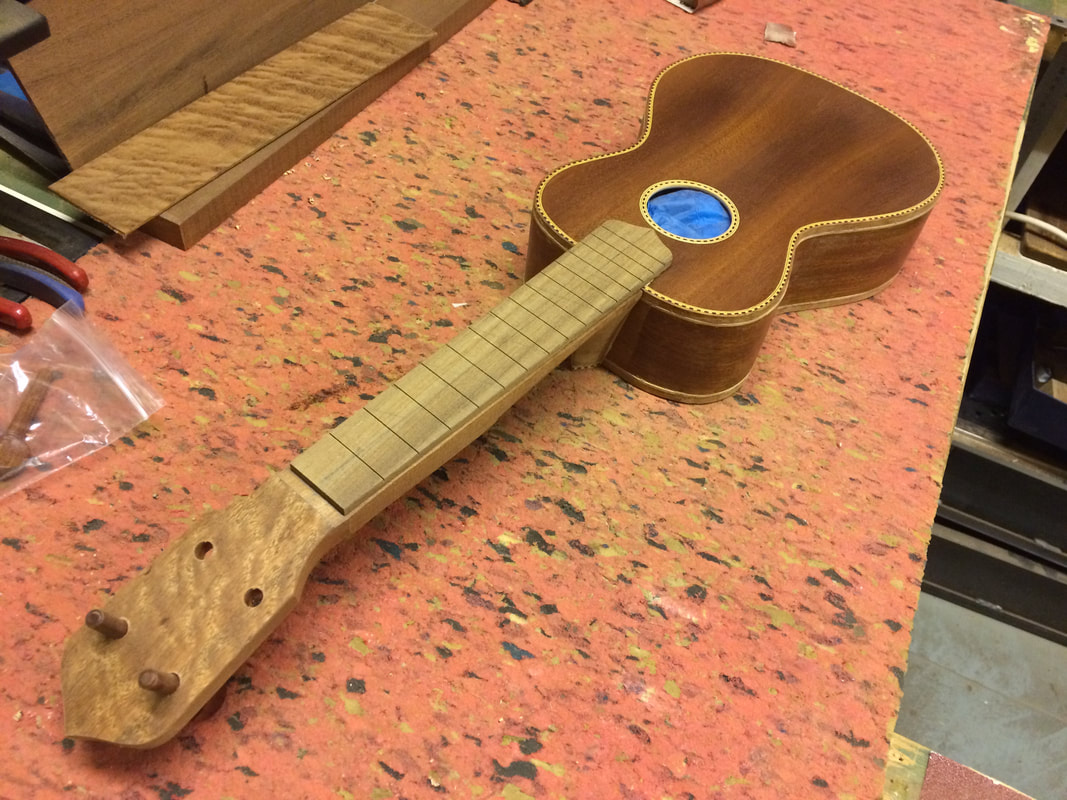
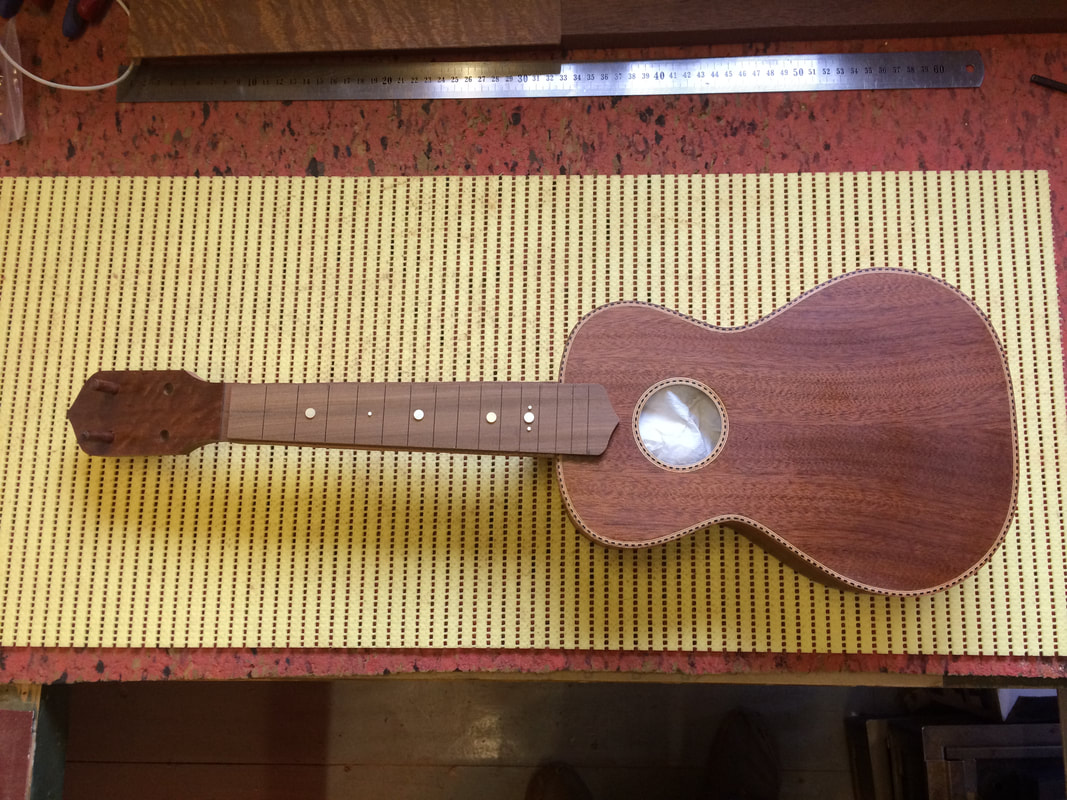
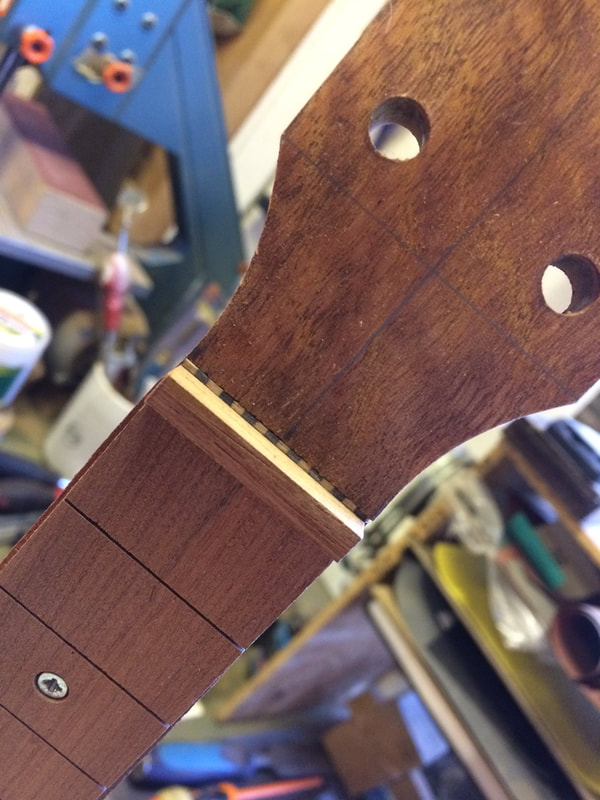
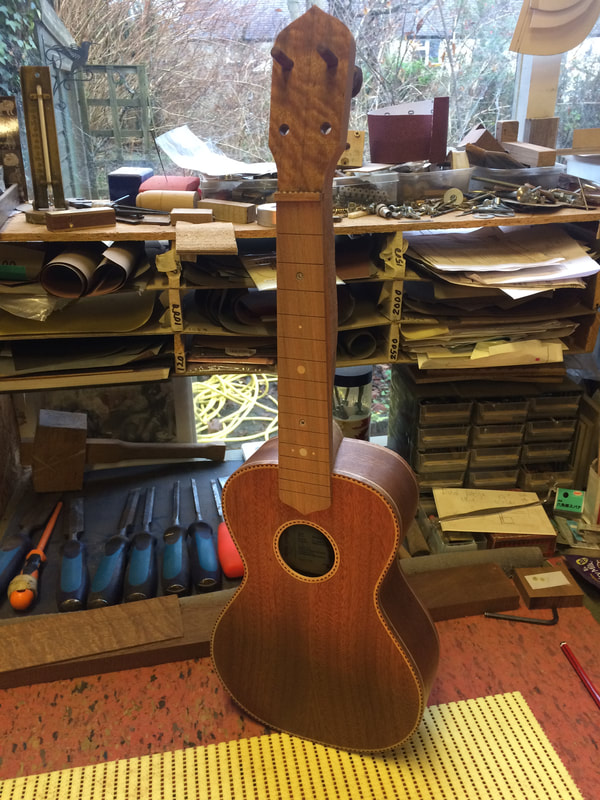
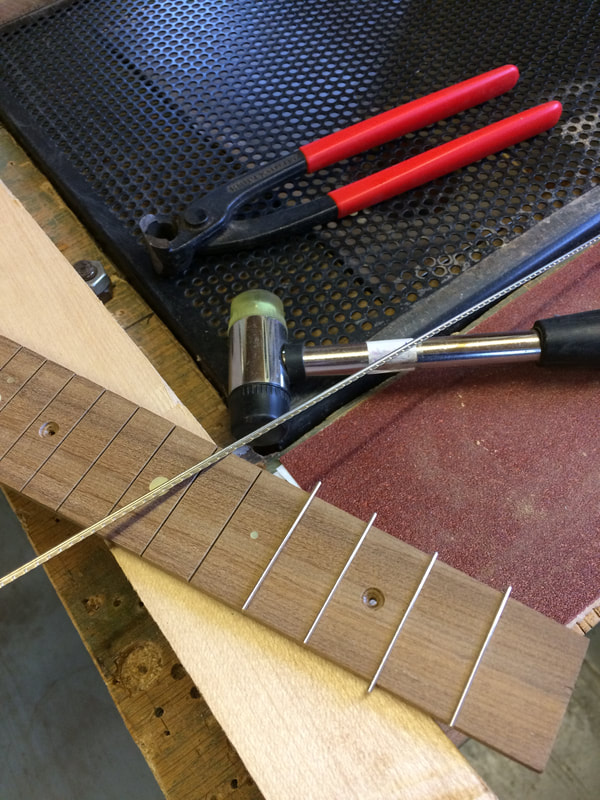
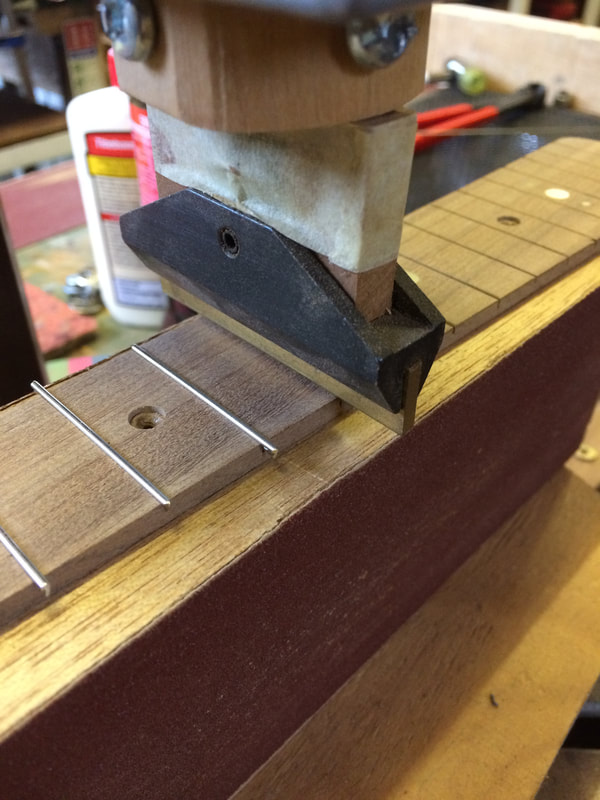
Frets installed and fingerboard glued to the neck :)
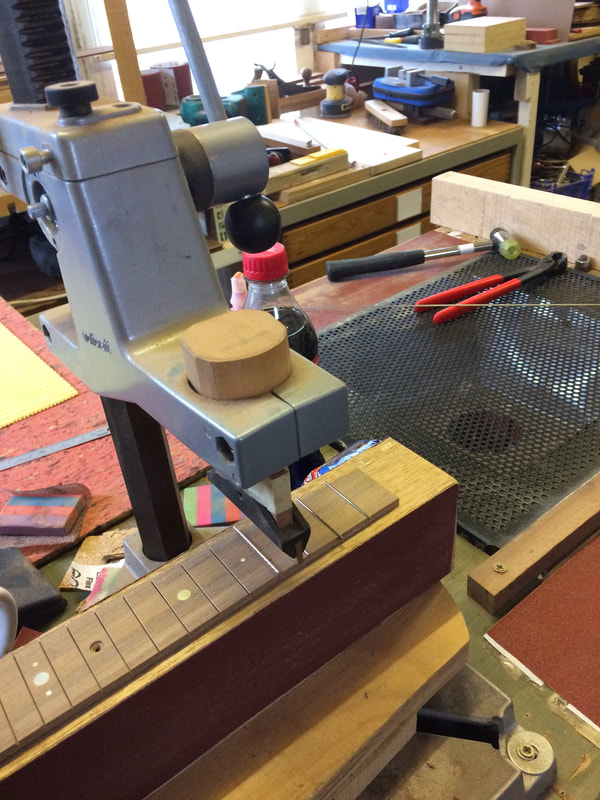
The frets are hammered in gently to begin with then, firmly seated in my homemade fret press.(converted drill stand).
The brass caul has been shaped to match the narrow fretwire I use.
Frets installed and fingerboard glued to the neck :)
The frets are hammered in gently to begin with then, firmly seated in my homemade fret press.(converted drill stand).
The brass caul has been shaped to match the narrow fretwire I use.
|
|
The fingerboard is aligned on the neck using two temporary screws, which i remove after gluing. Then the final marker dots will be fitted.